The Basic Steamed Bun
A beginner's mantou/bao dough step-by-step, plus how to shape a rabbit bun for Easter.
Hi friends! This week’s post is slightly earlier than usual as my hot cross bun review is next on the rota, and I want to release it in this coming weekend! (So if you want to travel far for any HXBs you will have time to do that :) )
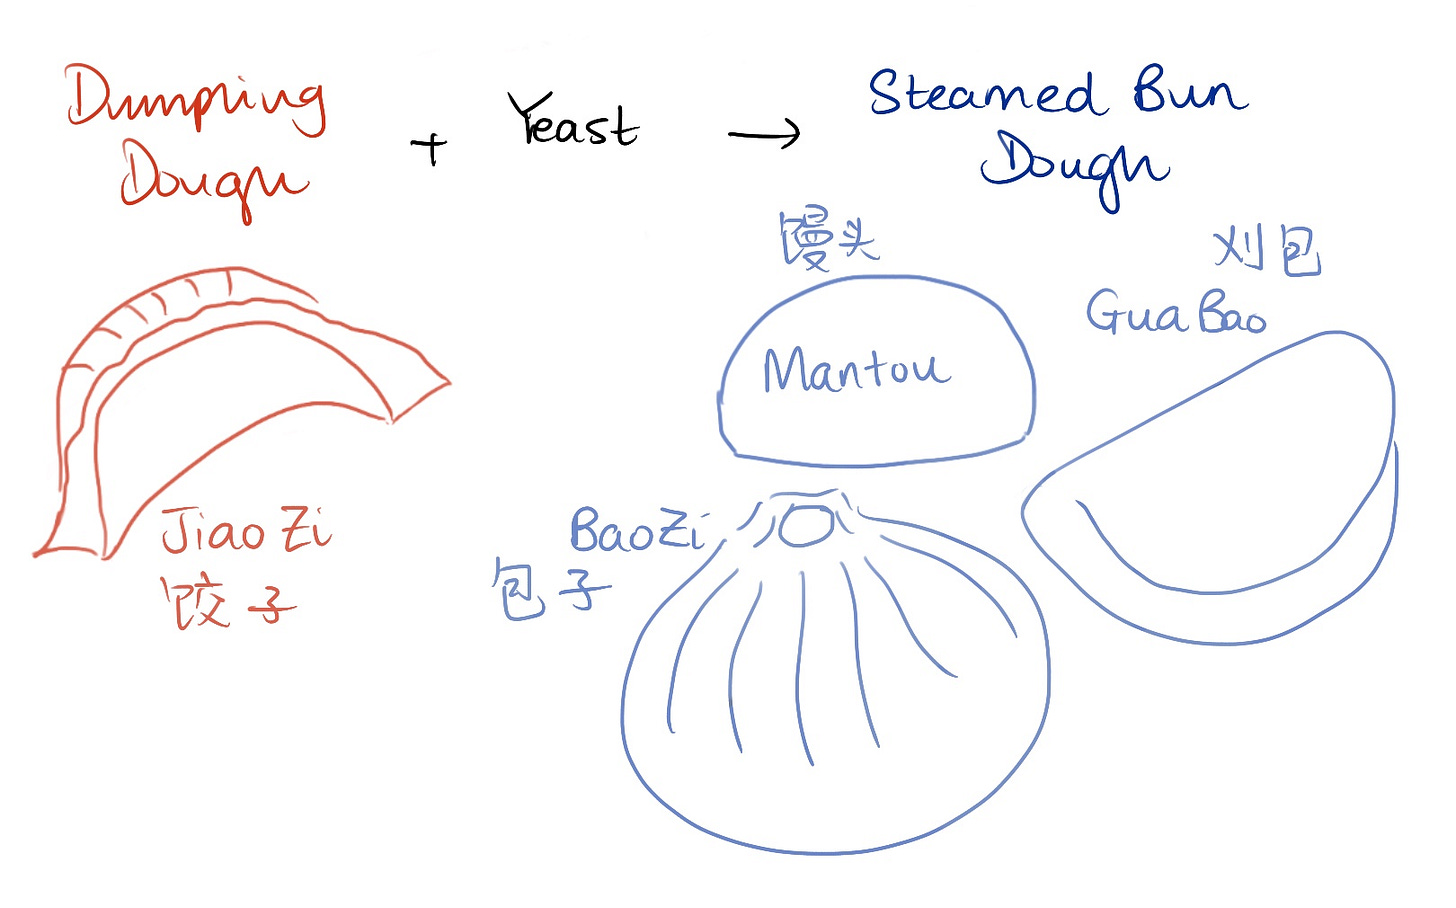
This is another theory/recipe post, and we will be talking about the basic steamed bun. Along with the dumpling dough which I have written about a few weeks ago, they are probably the most foundational doughs you will come across in Chinese home cooking.
Housekeeping FAQs
Some background information is important. There are enough recipes out there when you search for ‘Chinese steamed buns’ that you probably wonder why I am writing another one, but hopefully I am here to answer some of those unanswered questions you might have.
What do I mean when I talk about the basic steamed bun?
In short, this is the dough you would use for your average bao/mantou needs. Much like bread, there are literally SO many variations out there in how you could possibly enrich/flavour your buns, but in this post we are going for the most basic version. That means flour, yeast, salt, and water, and baking powder for testing purposes.
The idea is that once you have this recipe, you can adapt and add your own fillings, or at least have a starting point to make a fancier version.
Bao vs. Mantou - What is the difference?
Mantou = unfilled; bao = filled. The underlying dough is the same, and the steaming method is pretty much identical (subject to cooking your bao fillings too).
For those who follow me on instagram, you may have seen how many versions of bao/mantou I have done through the past few months. They basically all follow the recipe.
In this post I will be talking in the context of mantou (incl. shaping) to focus on the dough rather than the filling/wrapping, but I will be doing a bao post in the near future.
How does it compare to dumpling dough?
Not much difference, the hydration is very similar (but slightly higher for buns), just that buns are leavened with yeast.
Steamed Bun vs. Western Bread
Mantou, akin to bread, is simple but hard to perfect. Moreover, there are a lot of overlaps between steamed bun and bread which I will outline in this section, so that you can use your baking knowledge/experience wherever applicable.
However there are also key differences, 3 in terms of process and 2 in terms of ingredients:
Kneading (after first rise)
Second rise duration
Steaming method
Lower yeast percentage
Lower hydration
All these contribute to the steamed bun’s denser texture compared to the basic bread.
But let’s get to the bare-minimum recipe first.
Ingredients - for 8 -10 small mantou (baker’s percentage)
200g AP flour (I used one which was 10% protein)
110g water, lukewarm (55%)
2g salt (1%)
2g instant yeast (1%)
2g baking powder (1% optional — see ‘Common Recipe Controversies’ below)
Steps
Combine all ingredients to form dough
Rest for 10 minutes to help it hydrate better before kneading
Knead until smooth (3-5 minutes), then cover and rest
Let it bulk ferment until double in size
Punch air out, knead for 5-10 minutes, shape (see notes)
Second rise, usually 15 - 20 minutes (see notes)
Remember to line your steam basket with baking paper to prevent sticking
Starting with cold water*, steam for 15-20 minutes depending on size (*see notes)
After turning heat off, keep in steamer for further 3-5 minutes, then slowly lift the lid
Storage and Reheat
Again, similar to bread, you are freeze buns after they have been steamed. To reheat, steam it from frozen over boiling water for 5-10 minutes, until piping hot.
Key Processes vs. Bread: Differences Explained
It’s probably not too obvious from the steps, but from the diagram below, you can see that most of the difference actually comes after the first rise.
Kneading After First Rise
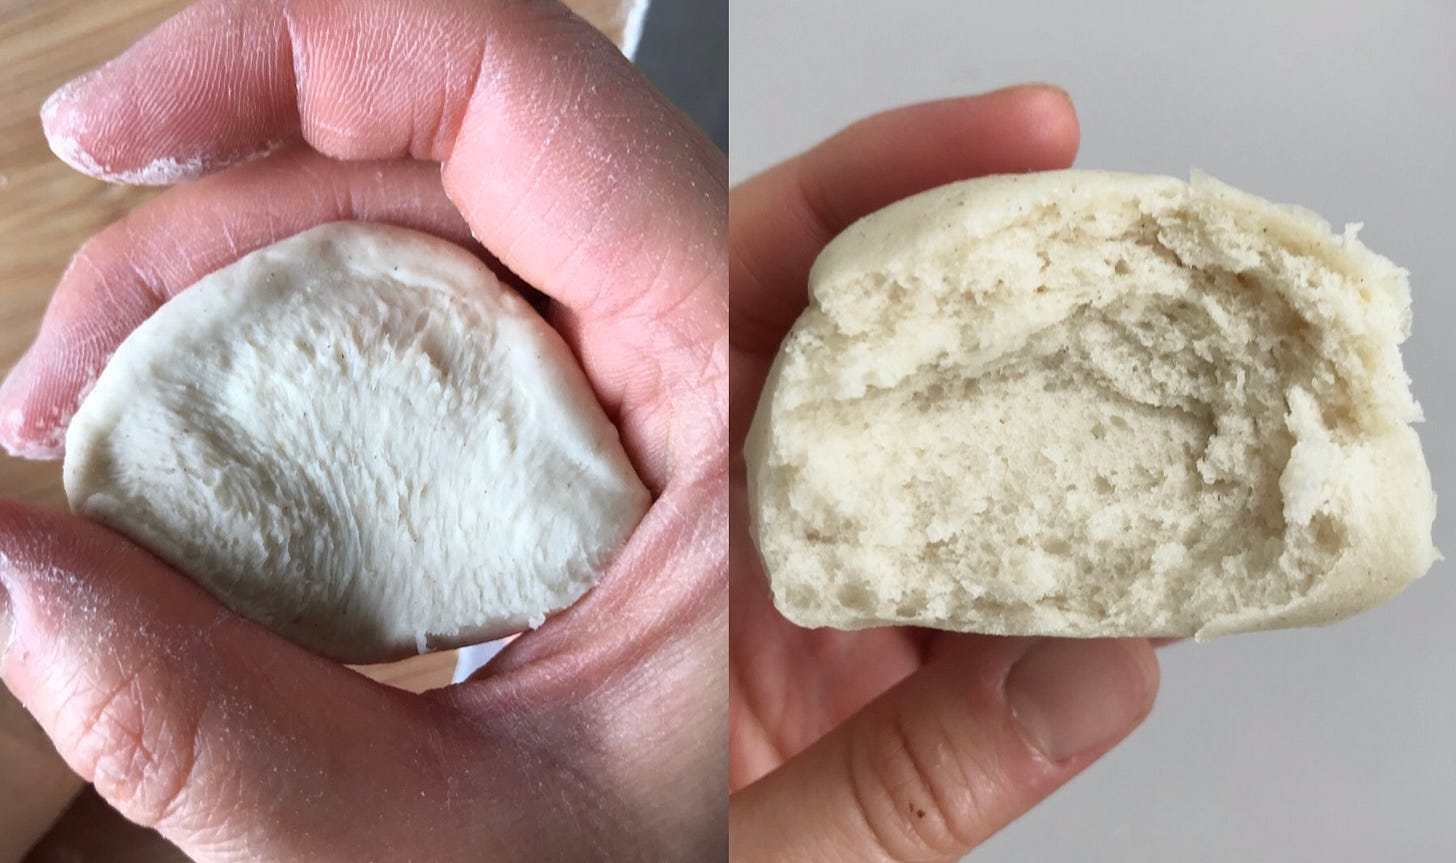
Contrasting with the chase of large holes in bread, a feature of good steamed buns is uniform and very small holes (but still passing the squish test!).
Therefore, a longer knead is required after punching the air out before the shaping process.
The kneading technique is the same as bread, and it usually takes me around 5-10 minutes depending on the size of the dough. To check if you have kneaded it enough, just cut the dough and you should be able to see minimal small holes.
Shaping usually happens straight after kneading, or with as little rest as possible.
Second Rise Duration and Steaming Method
For the same reason as above, the second rise duration is much shorter than in bread, because you want gluten to relax and maybe some small holes to develop post-shaping, but you don’t want new larger air bubbles to form.
Whether to start with cold water in steaming really depends on how long you leave it to rest for your ‘second rise’. This is because as the water heats up, the bun will continue to rise until it is hot enough for the dough to be cooked. Ultimately, the time taken during that slow increase in temperature here is a part of the second rise, as illustrated in the diagram above.
The common practice is to shape, then place them on the plate/basket (lined) that you will steam then in, and let it sit around 15-20 minutes. Then, start with cold water for steaming. If it’s winter, extend the time it sits for before steaming.
Note, however, because the time here is so short, the difference in size before and after the second rise is not quite as noticeable compared to bread, but it should look slightly fatter and plumper.
Size and Shaping
I like my mantou quite small, so I go for 30-40g each, which is coincidentally the weight used if you are making baos wrappers. Usually, store bought mantous are around 50-70g each.
There are 2 classic ways of shaping a mantou (step 5 above). The first is the classic boule, which is the same as in bread; the second is the ‘knife-cut’ shape 刀切馒头, which is basically a rectangular shape. The method of the latter is shown below, and you can see the various shapes in the final picture at the bottom of this post.

If you are short of time, you can skip the first two steps and roll it directly into a log, then cut, but I find this method giving more consistent and neater walls (along the cutlines).
Easter Themed Bunny Shape
As it is approaching Easter, I thought I would add this method of shaping here so you can make Easter themed mantous or baos. If you make baos, just make sure you seal the filling nicely, and have sufficient thickness for the wrapper to cut the ears.
The diagram from left to right below shows how to shape a boule-shape dough ball into a rabbit. The two key steps are pinching out a tail and cutting out the ears, both steps I have illustrated directly on the photo.
Optionally, you can add eyes by using small pulses/grains — I used buckwheat, and you can pinch a little at the front to mimic the nose and mouth.
Below shows the before/after steaming of the bunny.
Common Recipe Controversies
Now that we have gone through the most basic recipe, I’d like to address 2 common points of discussion that you often see in recipes: how many rises do we need and whether to add baking powder.
For the first question, the best practice is 2. You can technically get away with 1 by skipping the bulk fermentation process, but 2 rises really gives better taste and texture.
More importantly, with or without baking powder?
TL;DR: purists say no baking powder, but adding baking powder improves the airiness but some may prefer the firmer texture of the version without. Adding baking powder also yields a more forgiving dough during the second rise.
I have done some testing for you.
Below is a comparison of the exact same recipe/process to the best of my ability: same quantities of everything, shaped and proofed over the same time, steamed in the same compartment in my steamer etc… The only difference is whether I have added that 1% of baking powder.

From a standard point of view, as shown by the second picture, the dough was slightly underproofed during the second rise in this batch (dimple in the centre). However, the leftmost version (with baking powder) turned out OK. The rightmost no-baking-powder version was proofed for slightly longer, showing the smoother finish we want.
To provide more comparison, the picture below shows multiple steamed batches of both versions of buns. The left are the purist buns, the right are buns with baking powder.
The difference is quite noticeable: the left has more varied outcomes from the varying proofing times, the right is uniformly fluffy.
In terms of taste, it is agreed that the ones with baking powder are more airy.
Personally, I prefer the denser, chewier buns on the left. Plus, nailing the purist method is a great goal to aim for. For beginners, however, using baking powder might help if you just want to make some buns.
Short Notes on Variations
After you have mastered steamed buns, you can totally go wild in what you can do with it. Even with the mantou, you can use different flours, or add in all sorts of puree to give it different flavours/colours, or make Hua Juan (‘flower rolls’ 花卷) by adding spring onion and shaping it as you would a cardamom or cinnamon bun.
You can also add milk instead of water, or add sugar for a sweeter dough. Or add a little oil for a shinier bun.
All these additions will change the chemistry slightly, but once you know how the basic dough should ‘feel’ like, you should be in a good place to experiment with your own personal touches.
Afterword
As always, thank you for reading!
I know this is super basic, but I hope it is useful in providing more context in conjunction with lot of the recipes out there.
If you enjoyed this post, please click the ‘heart’ button at the top to let me know, and if you think a friend might find my series of newsletters interesting, please don’t hesitate to share :)


