
CNY Special: An Engineer's Guide to Dumplings Pt. 1
On dumplings and the Chinese New Year, and how to make your own dumpling wrappers (with some science)

In China, it is a known custom to eat dumplings on the Lunar New Year’s eve.
Historically, it is said the act will bring prosperity and fortune in the new year, because Jiao Zi 饺子, the Chinese name for the common dumpling, sounds similar to the earliest paper money circulated in the country.
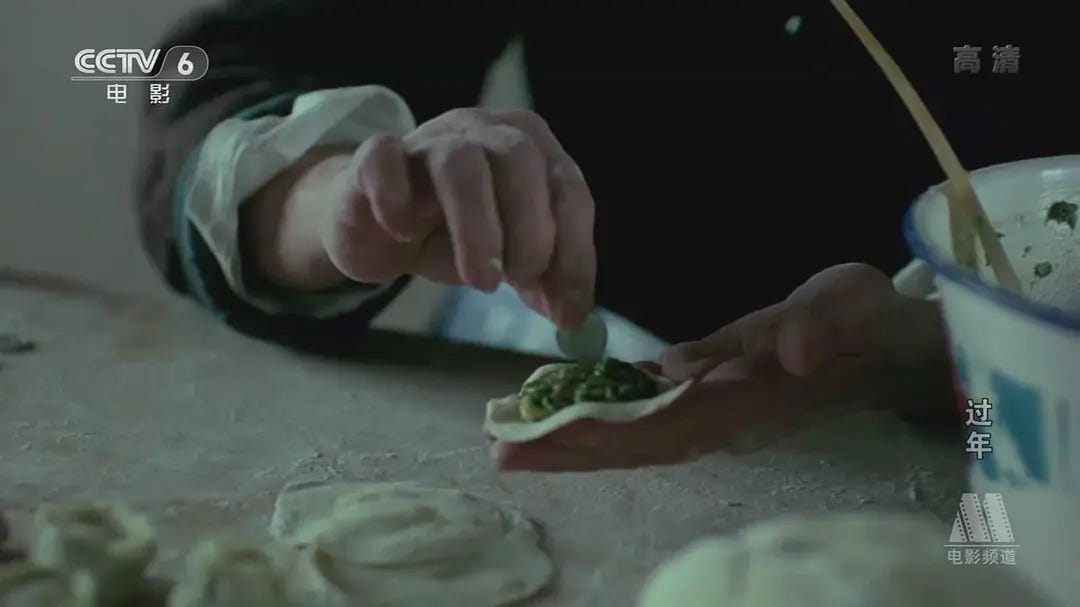
Today, making dumplings on NYE is more symbolic as a rare opportunity for family reunion: mom in charge of rolling out the wrappers, auntie bringing out various bowls of fillings, everyone else gathering around the dining table, having a competition of who can pinch the prettiest shapes.
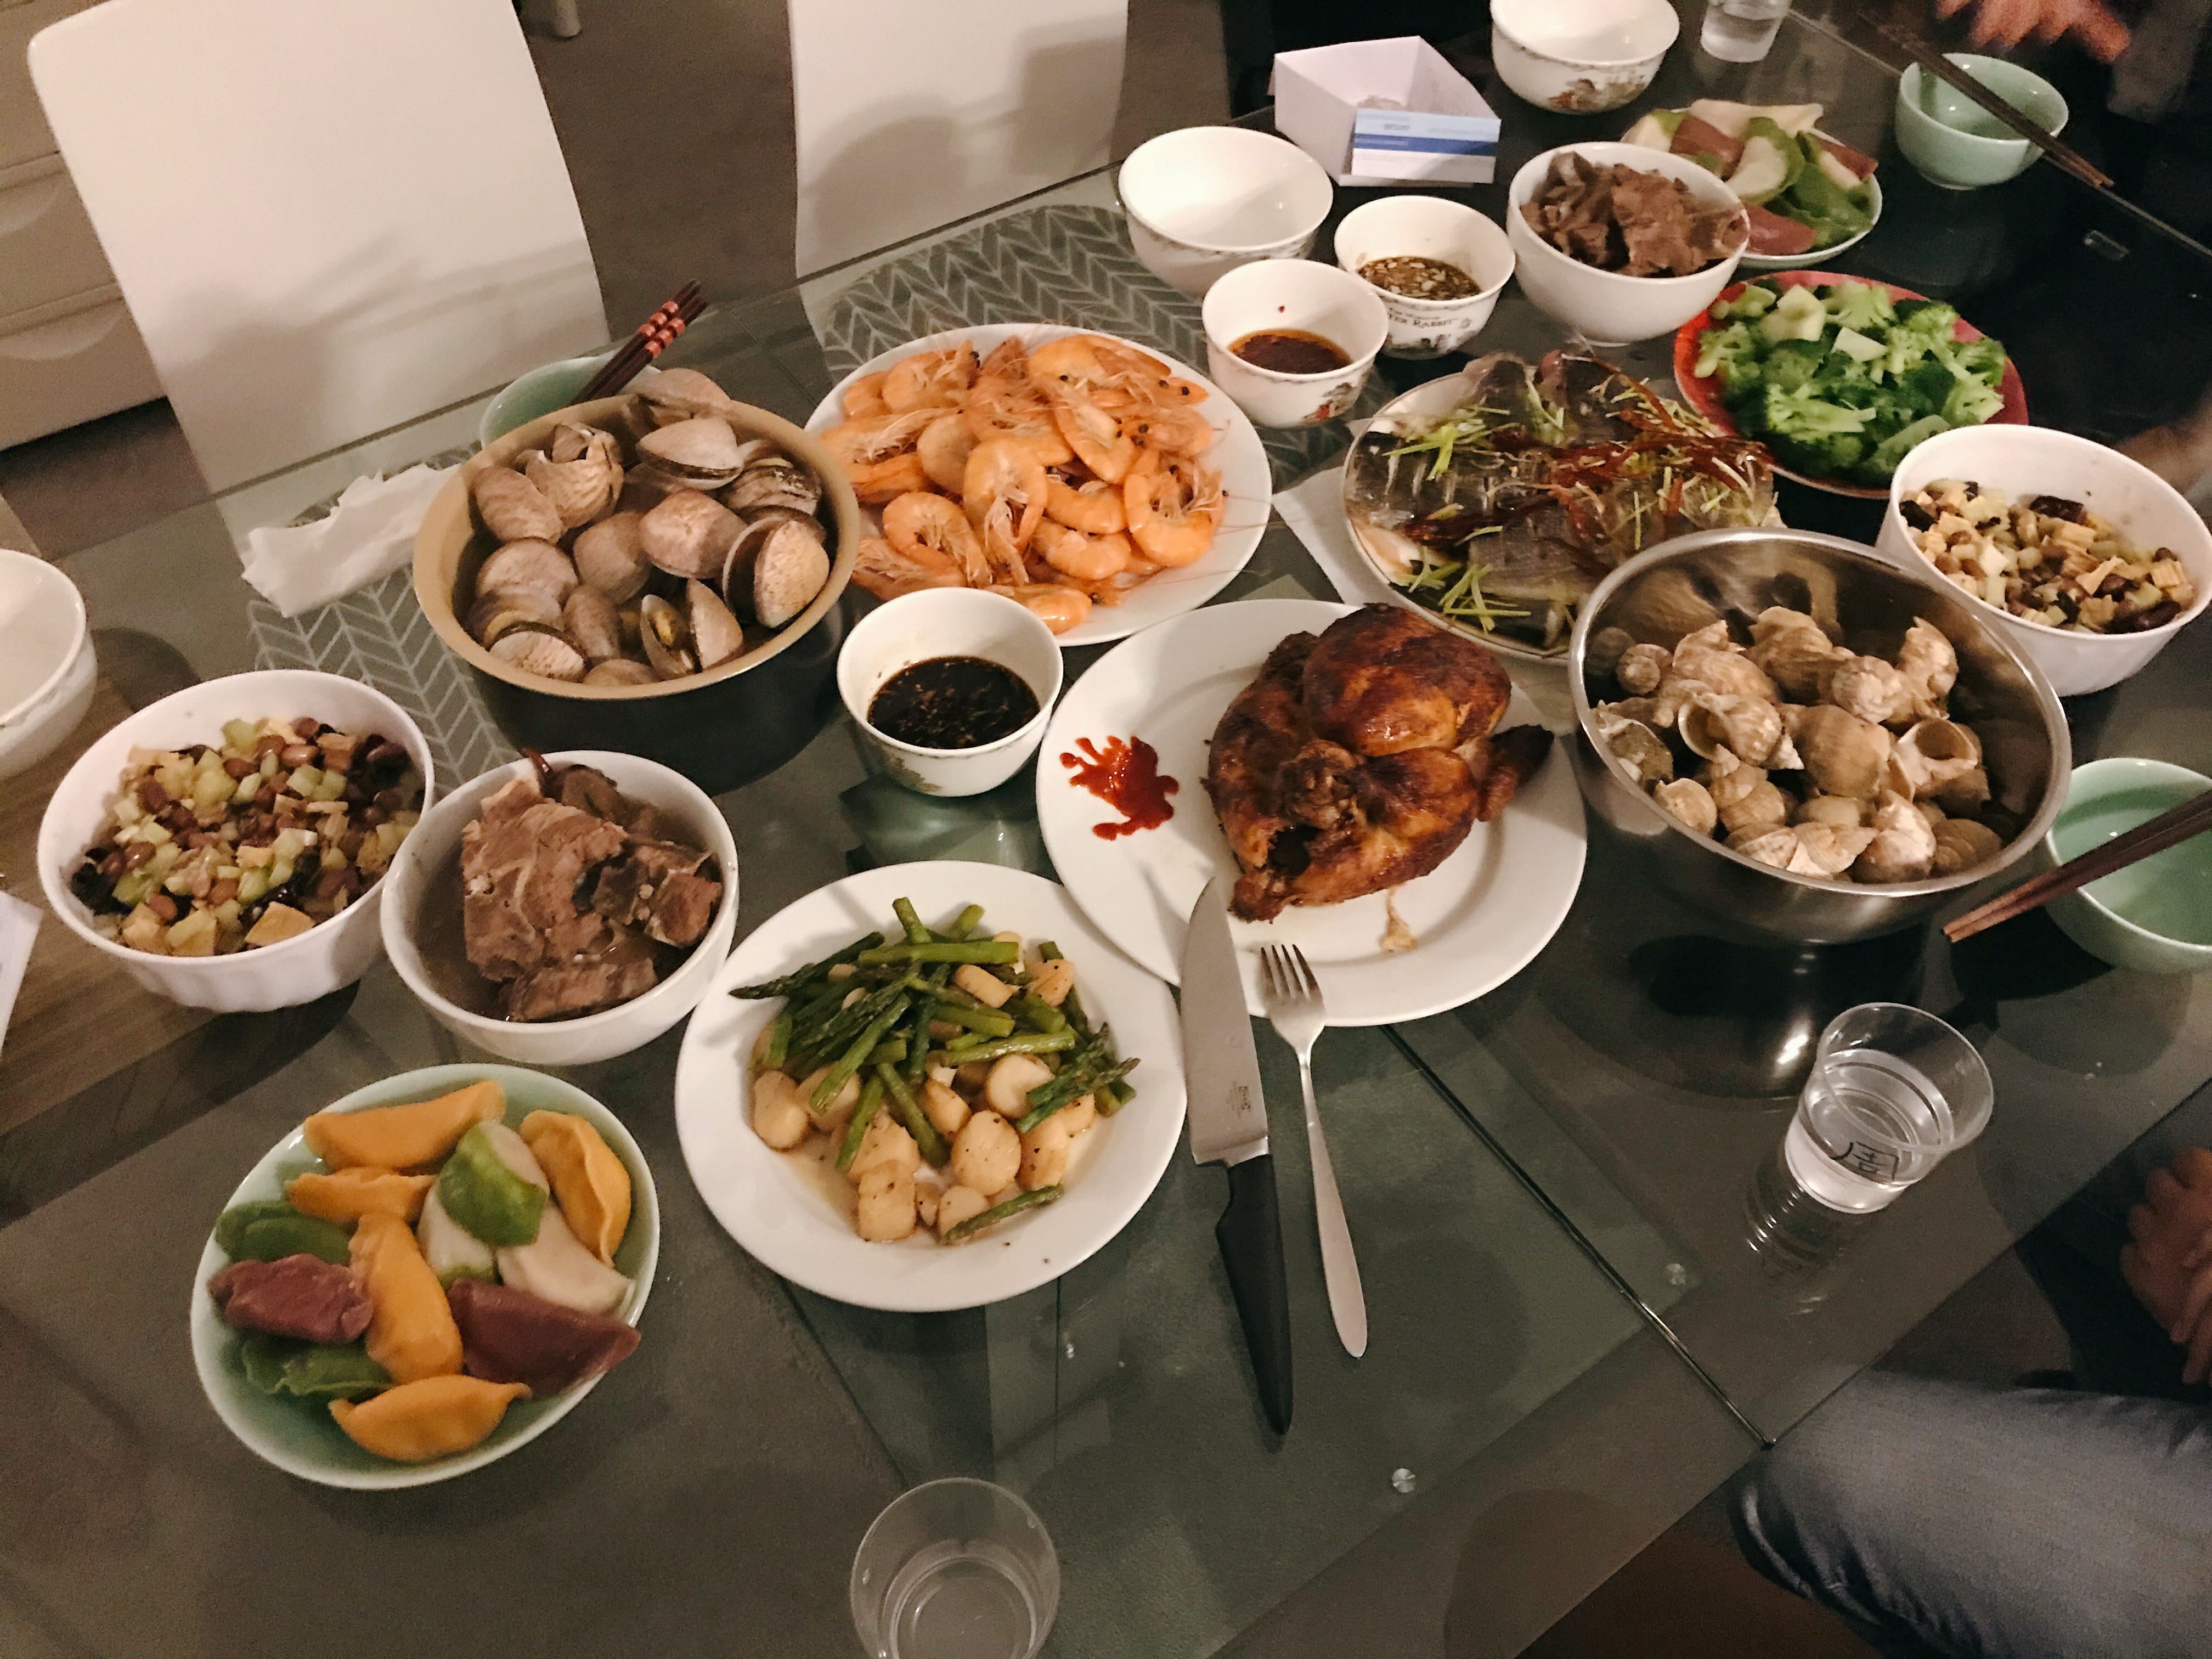
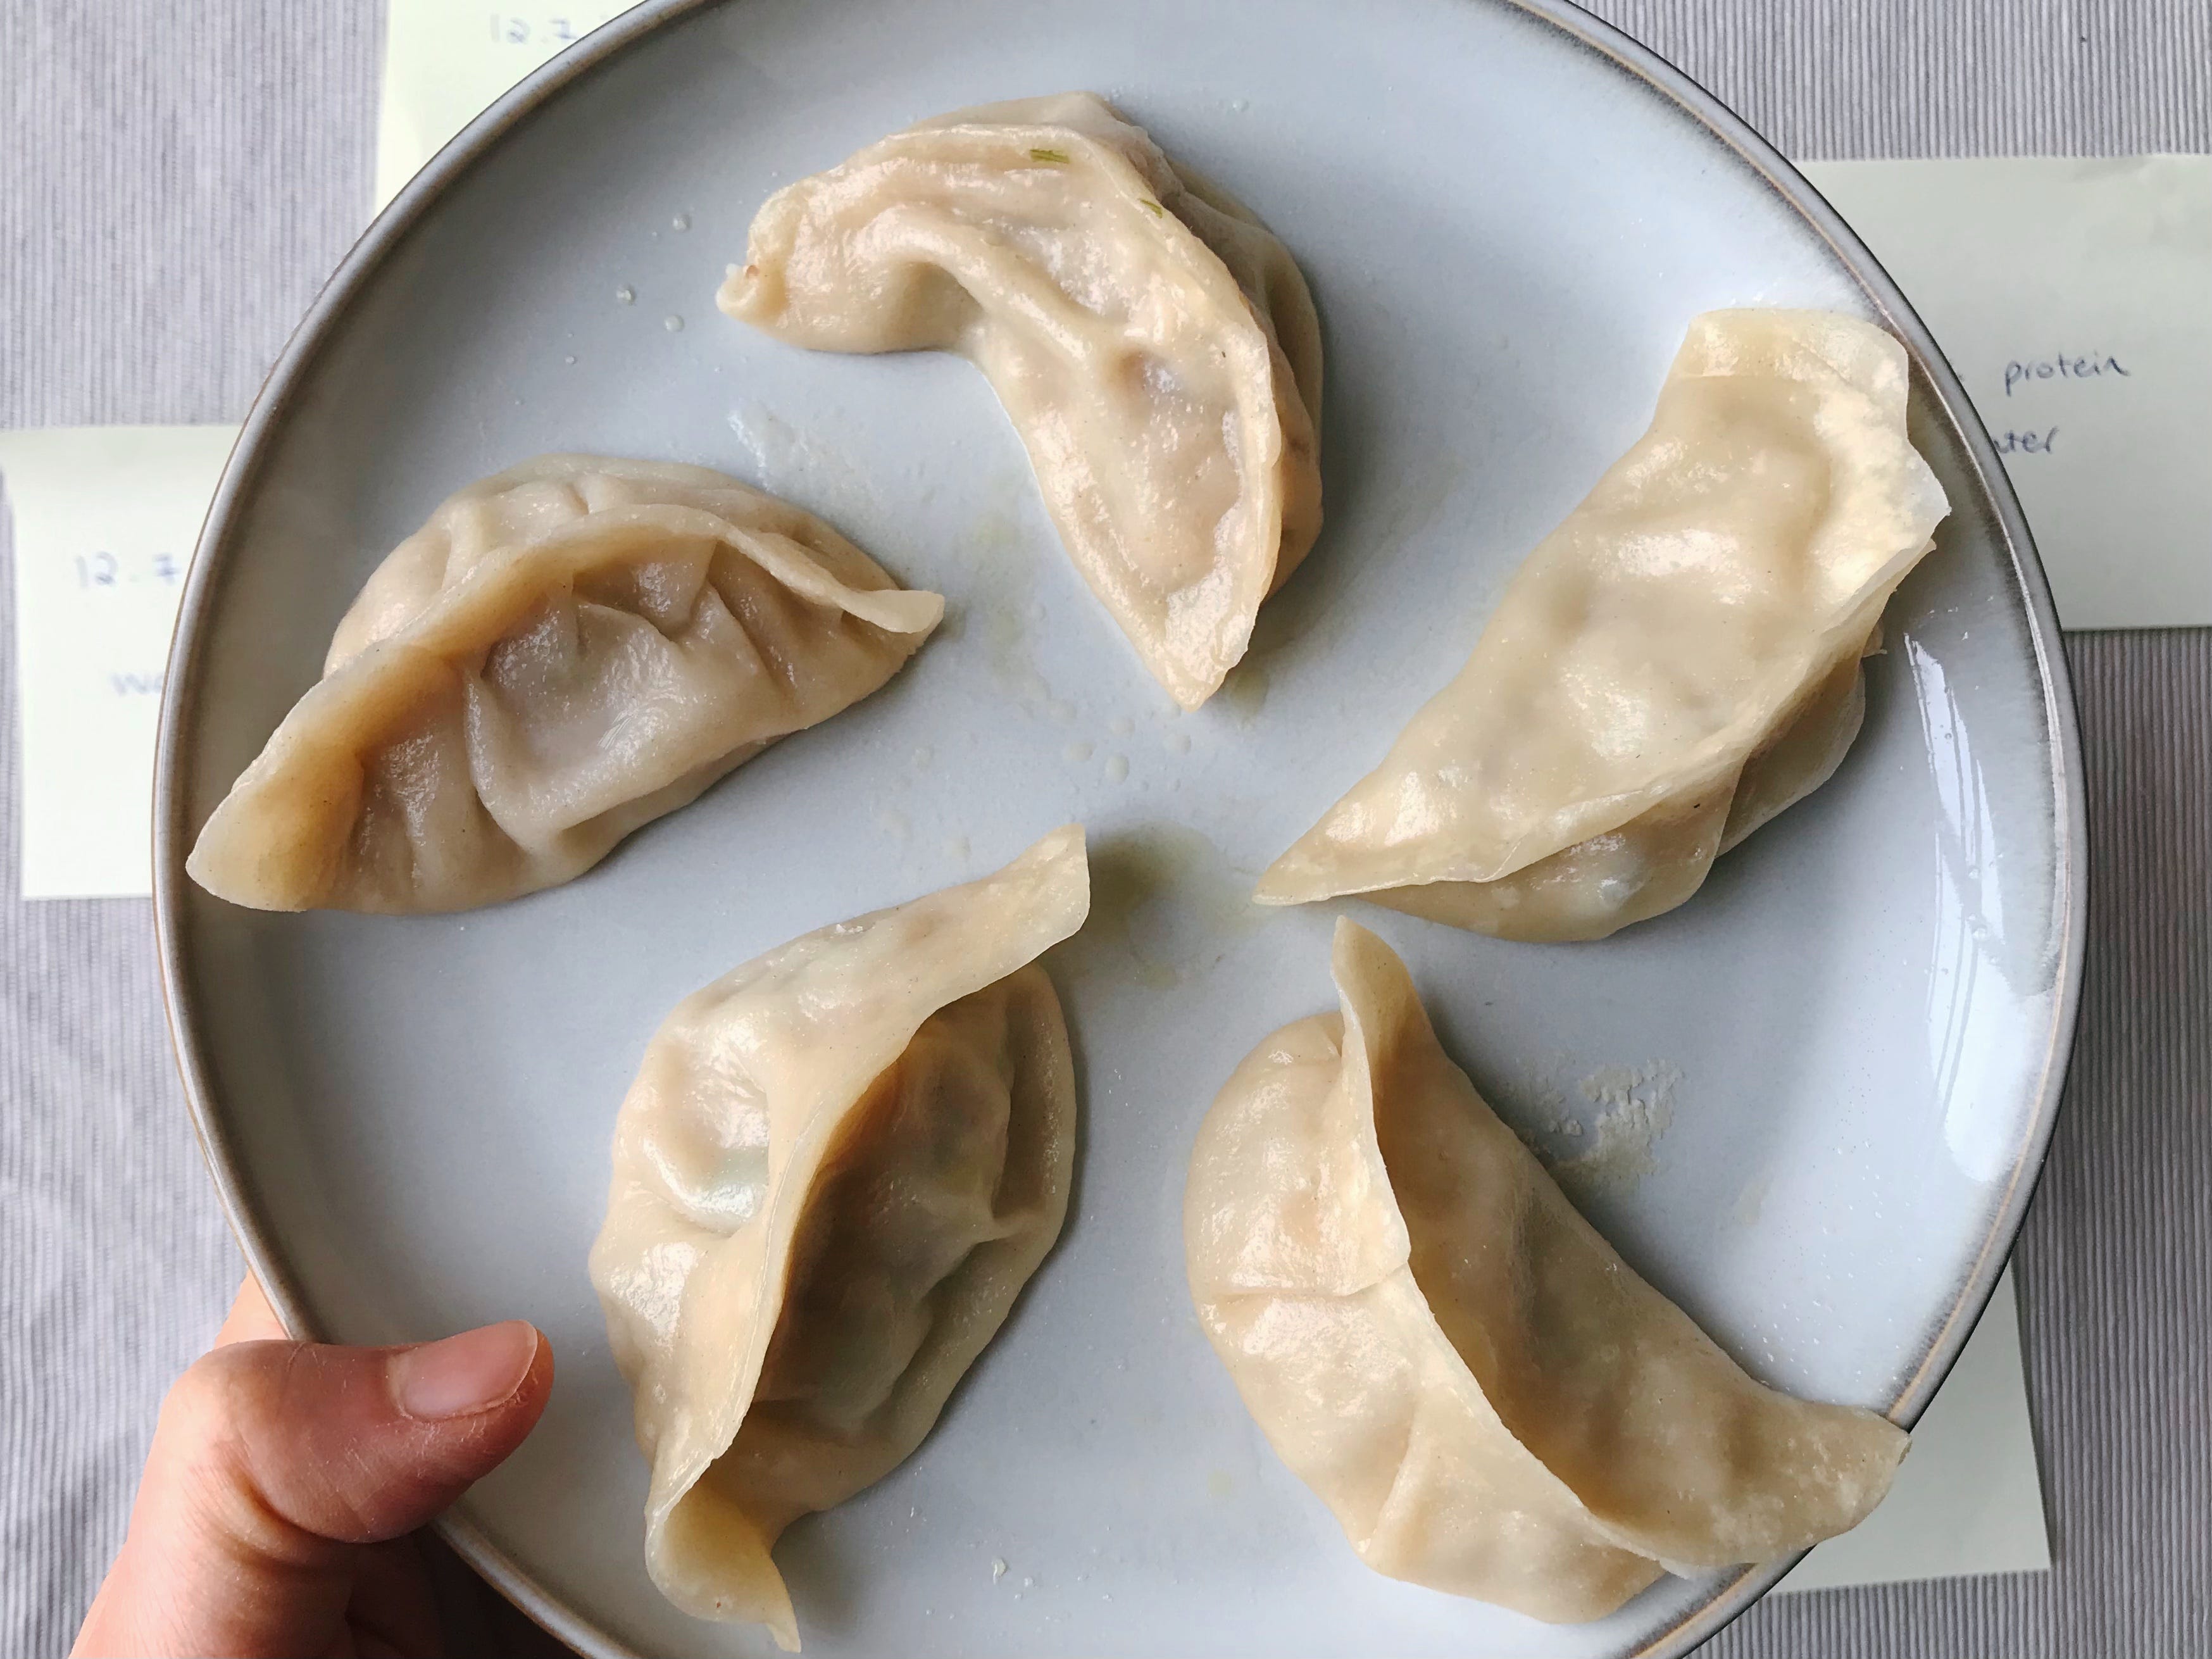
After heaps of dumplings are made, the largest pots will be used to cook them. The dining table will be filled with CNY special dishes symbolising good fortunte. Everyone will be sat down but no one would tuck in yet, all eagerly waiting for those fresh dumplings: thin skinned, generously filled, still steaming.
‘Life doesn't get better than relaxing in bed and eating dumplings.’ a Chinese proverb says it all.
Since dumpling making is mostly a group activity, and dough based foods are more common in Northern China, the job of making the dough and then the wrappers never really fell on me. Even when I moved to London, my flatmate would be the one in charge of doing most of the work, with me helping her on the side.
It was not until November last year — after she had moved out — that I learned to make dumplings from scratch.
At first, it was a bit of a mess: there are thousands of recipes out there, but no standard recipe for doughs and fillings (and even when they do they sometimes do not indicate quantity), because it is something you learn from your parents over years of cooking together.
Coming from an engineering background, I approached the problem 2 ways:
Gather multiple recipes, search for commonalities and iterate
Run experiments on dumpling dough
And here is where I report back with some of the most useful things I have learnt.
Let’s start with some housekeeping: in this blog I talk about the common northern dumplings, Jiao Zi. However, the dough section would also apply to the Japanese Gyoza and Korean Mandu — see appendix for further notes.
I originally intended for 1 post on everything. However, as I write it turned out to be quite long, so I have split this into 2 parts. This week we will cover the following:
The Dough (ingredients + method, some science)
Basics on wrappers (steps, sizing, rolling technique)
Making colourful wrappers
OK. Let’s begin.
Many thanks to my friends, Sol and Ami, for their inputs on mandu and gyoza, and thanks to Mike who helped me with dumpling taste-tests.
Fundamentally, dumplings are not complicated to make. The wrapper dough is unleavened so it’s relatively low maintenance, and you can always tweak the fillings according to your personal taste.
They are, however, rather time consuming because it is most economical to make at least 3-4 servings at once (about 200g of flour). Each intermediate step is quite repetitive, making it perfect for task distribution with a small gathering of people, but making a batch by oneself would require some patience.
The bright side? They freeze really well, with the right balance of protein and vegetable fillings, they make a quick and balanced meal on their own.
The Dough
INGREDIENTS
TL;DR: 48-50% hydration, or 2:1 ratio (in weight) for bread flour (12-13% protein*) and cold/room temperature water.
We aim for a relatively dry dough because the cooking method is primarily water based. The above will give you an all-rounded dough that will produce wrappers with a good chew, and is good for boiling, steaming, and pan-frying, which is perfect if you just want to make a batch without thinking too much ahead of how you are going to cook it.
If you want to achieve very specific results, water temperature and protein content of the flour really matters. Below are results from my experiments.
*If you are an absolute beginner (i.e. you don’t bake), it is better to use a slightly lower protein % (10-12%), for less gluten and hence an easier dough handling.
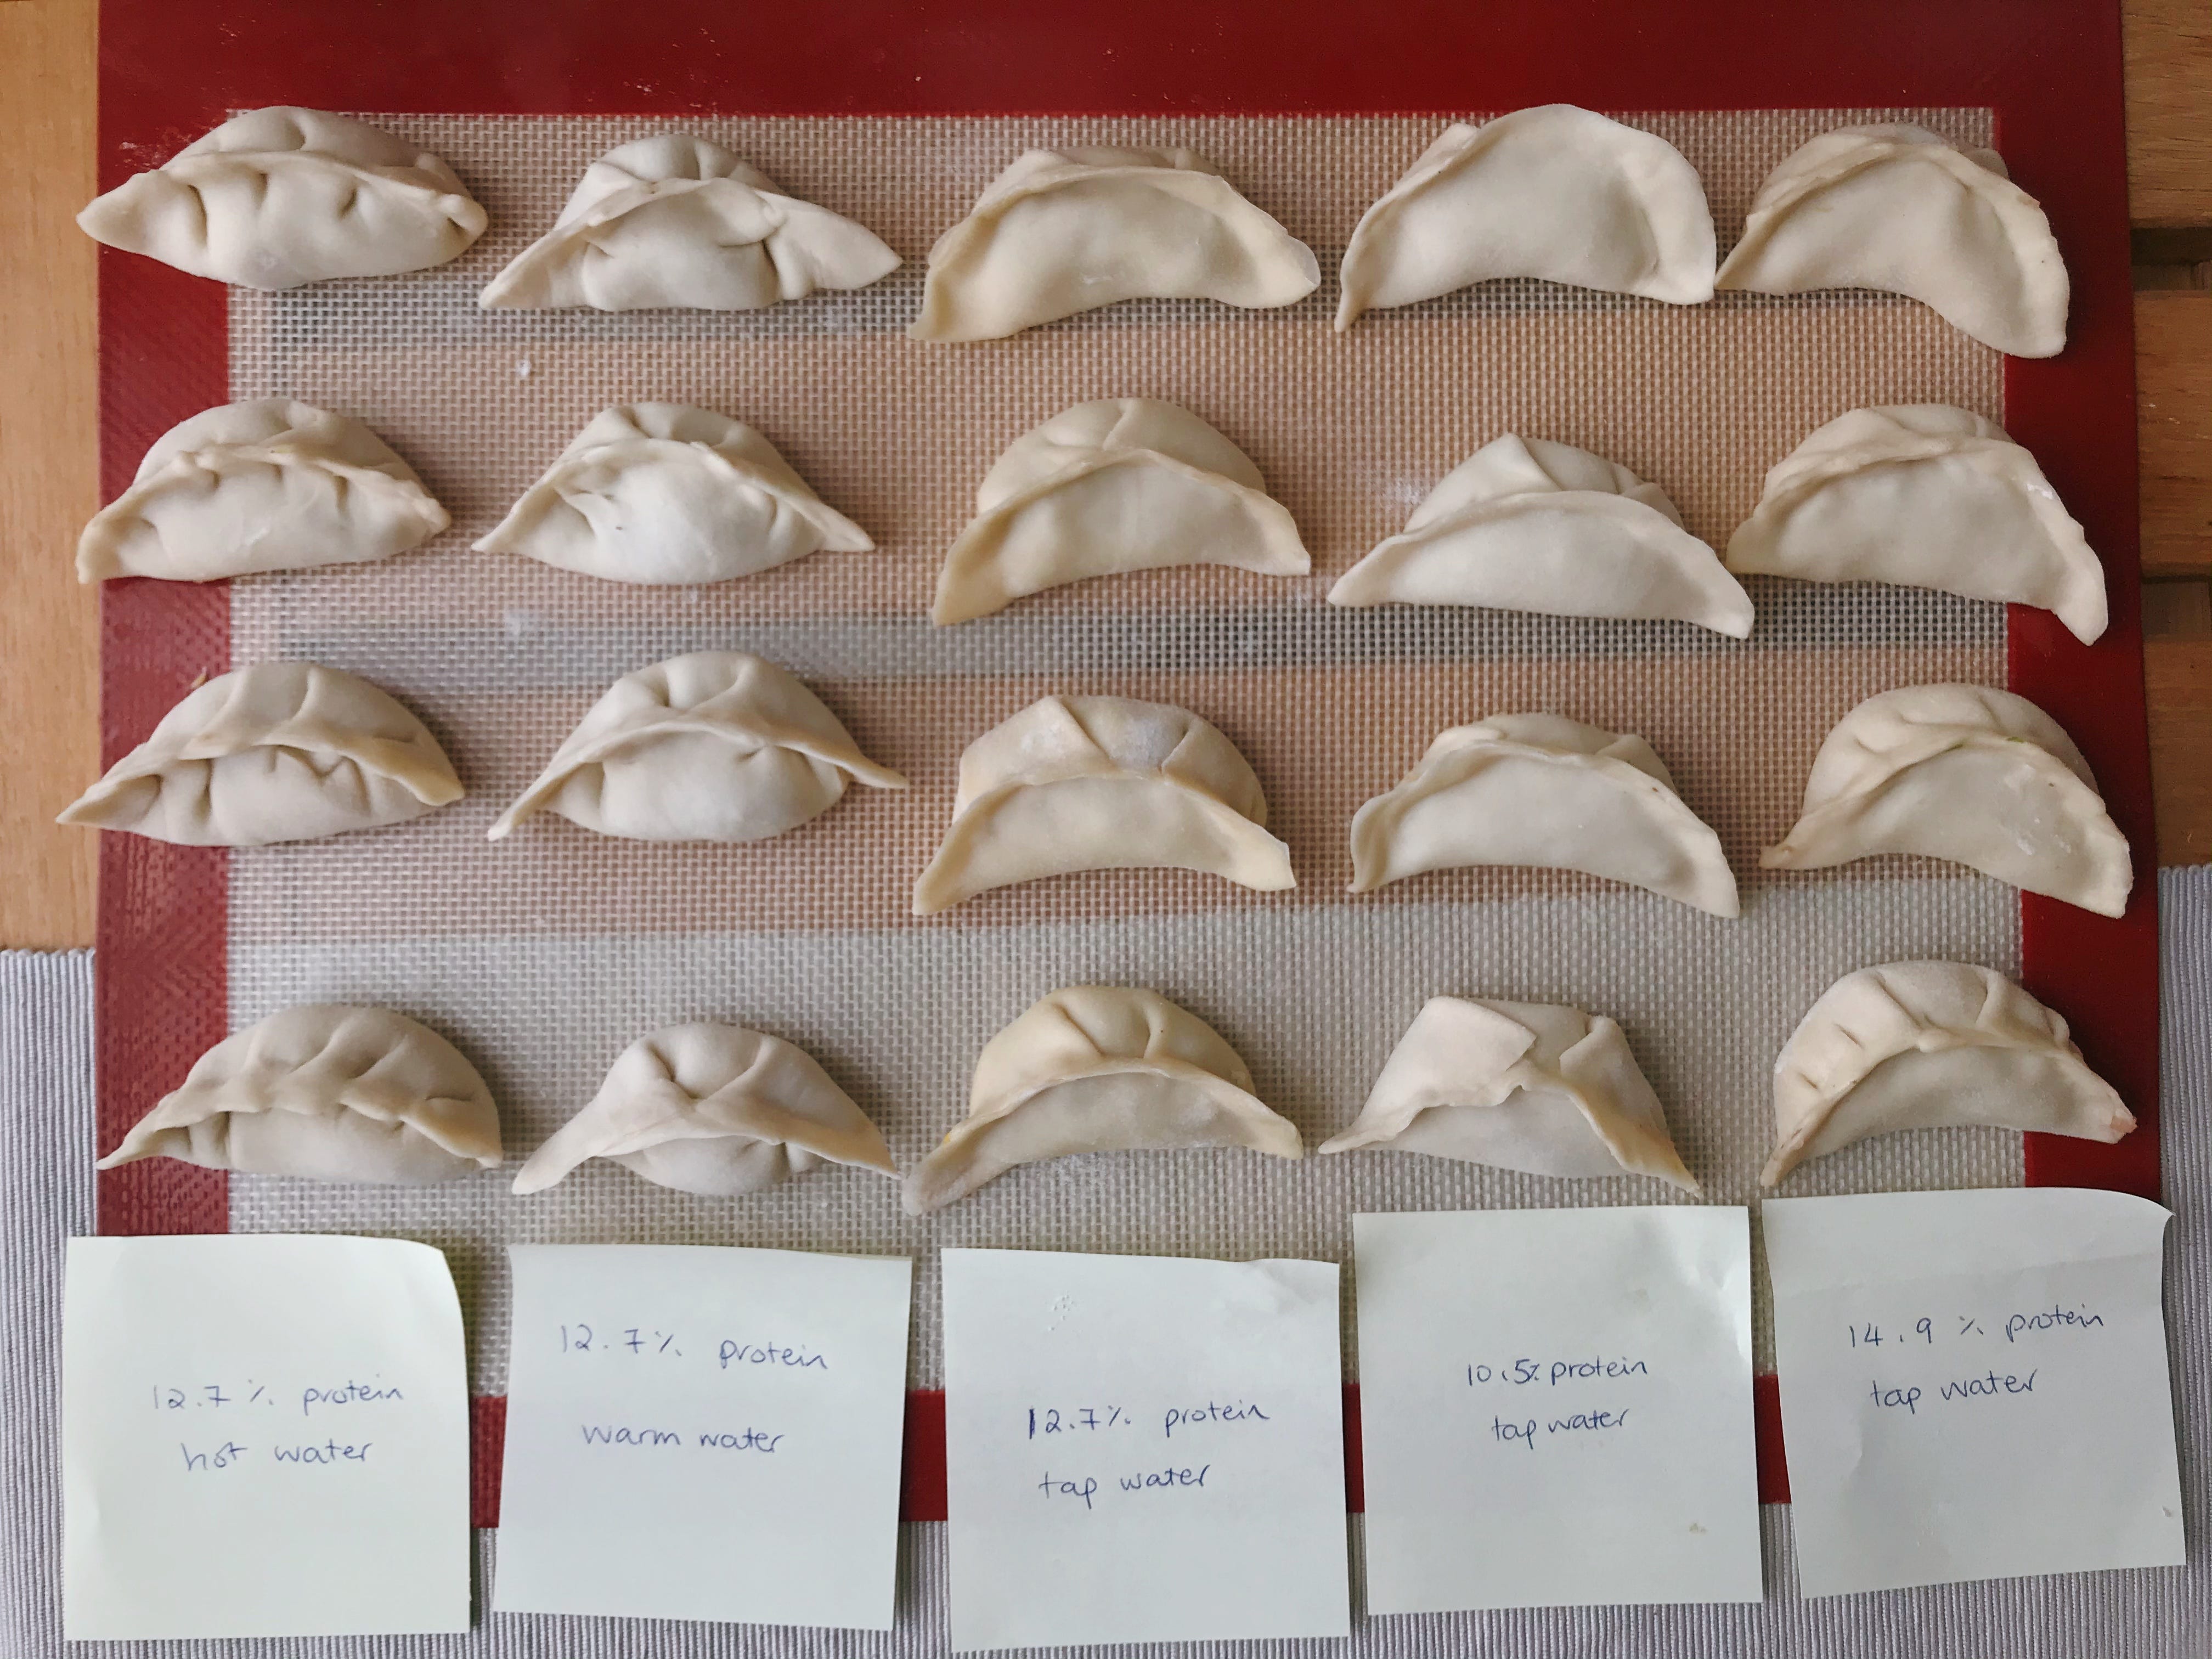
Flours used: Strong White (14.9% protein), White (10.5% protein), alone or mixed half-half
Water temperature: I don’t have a thermometer so tap water (around 18-20C) and just boiled water is all I have reference points to. I mix the two for ‘warm’ water.
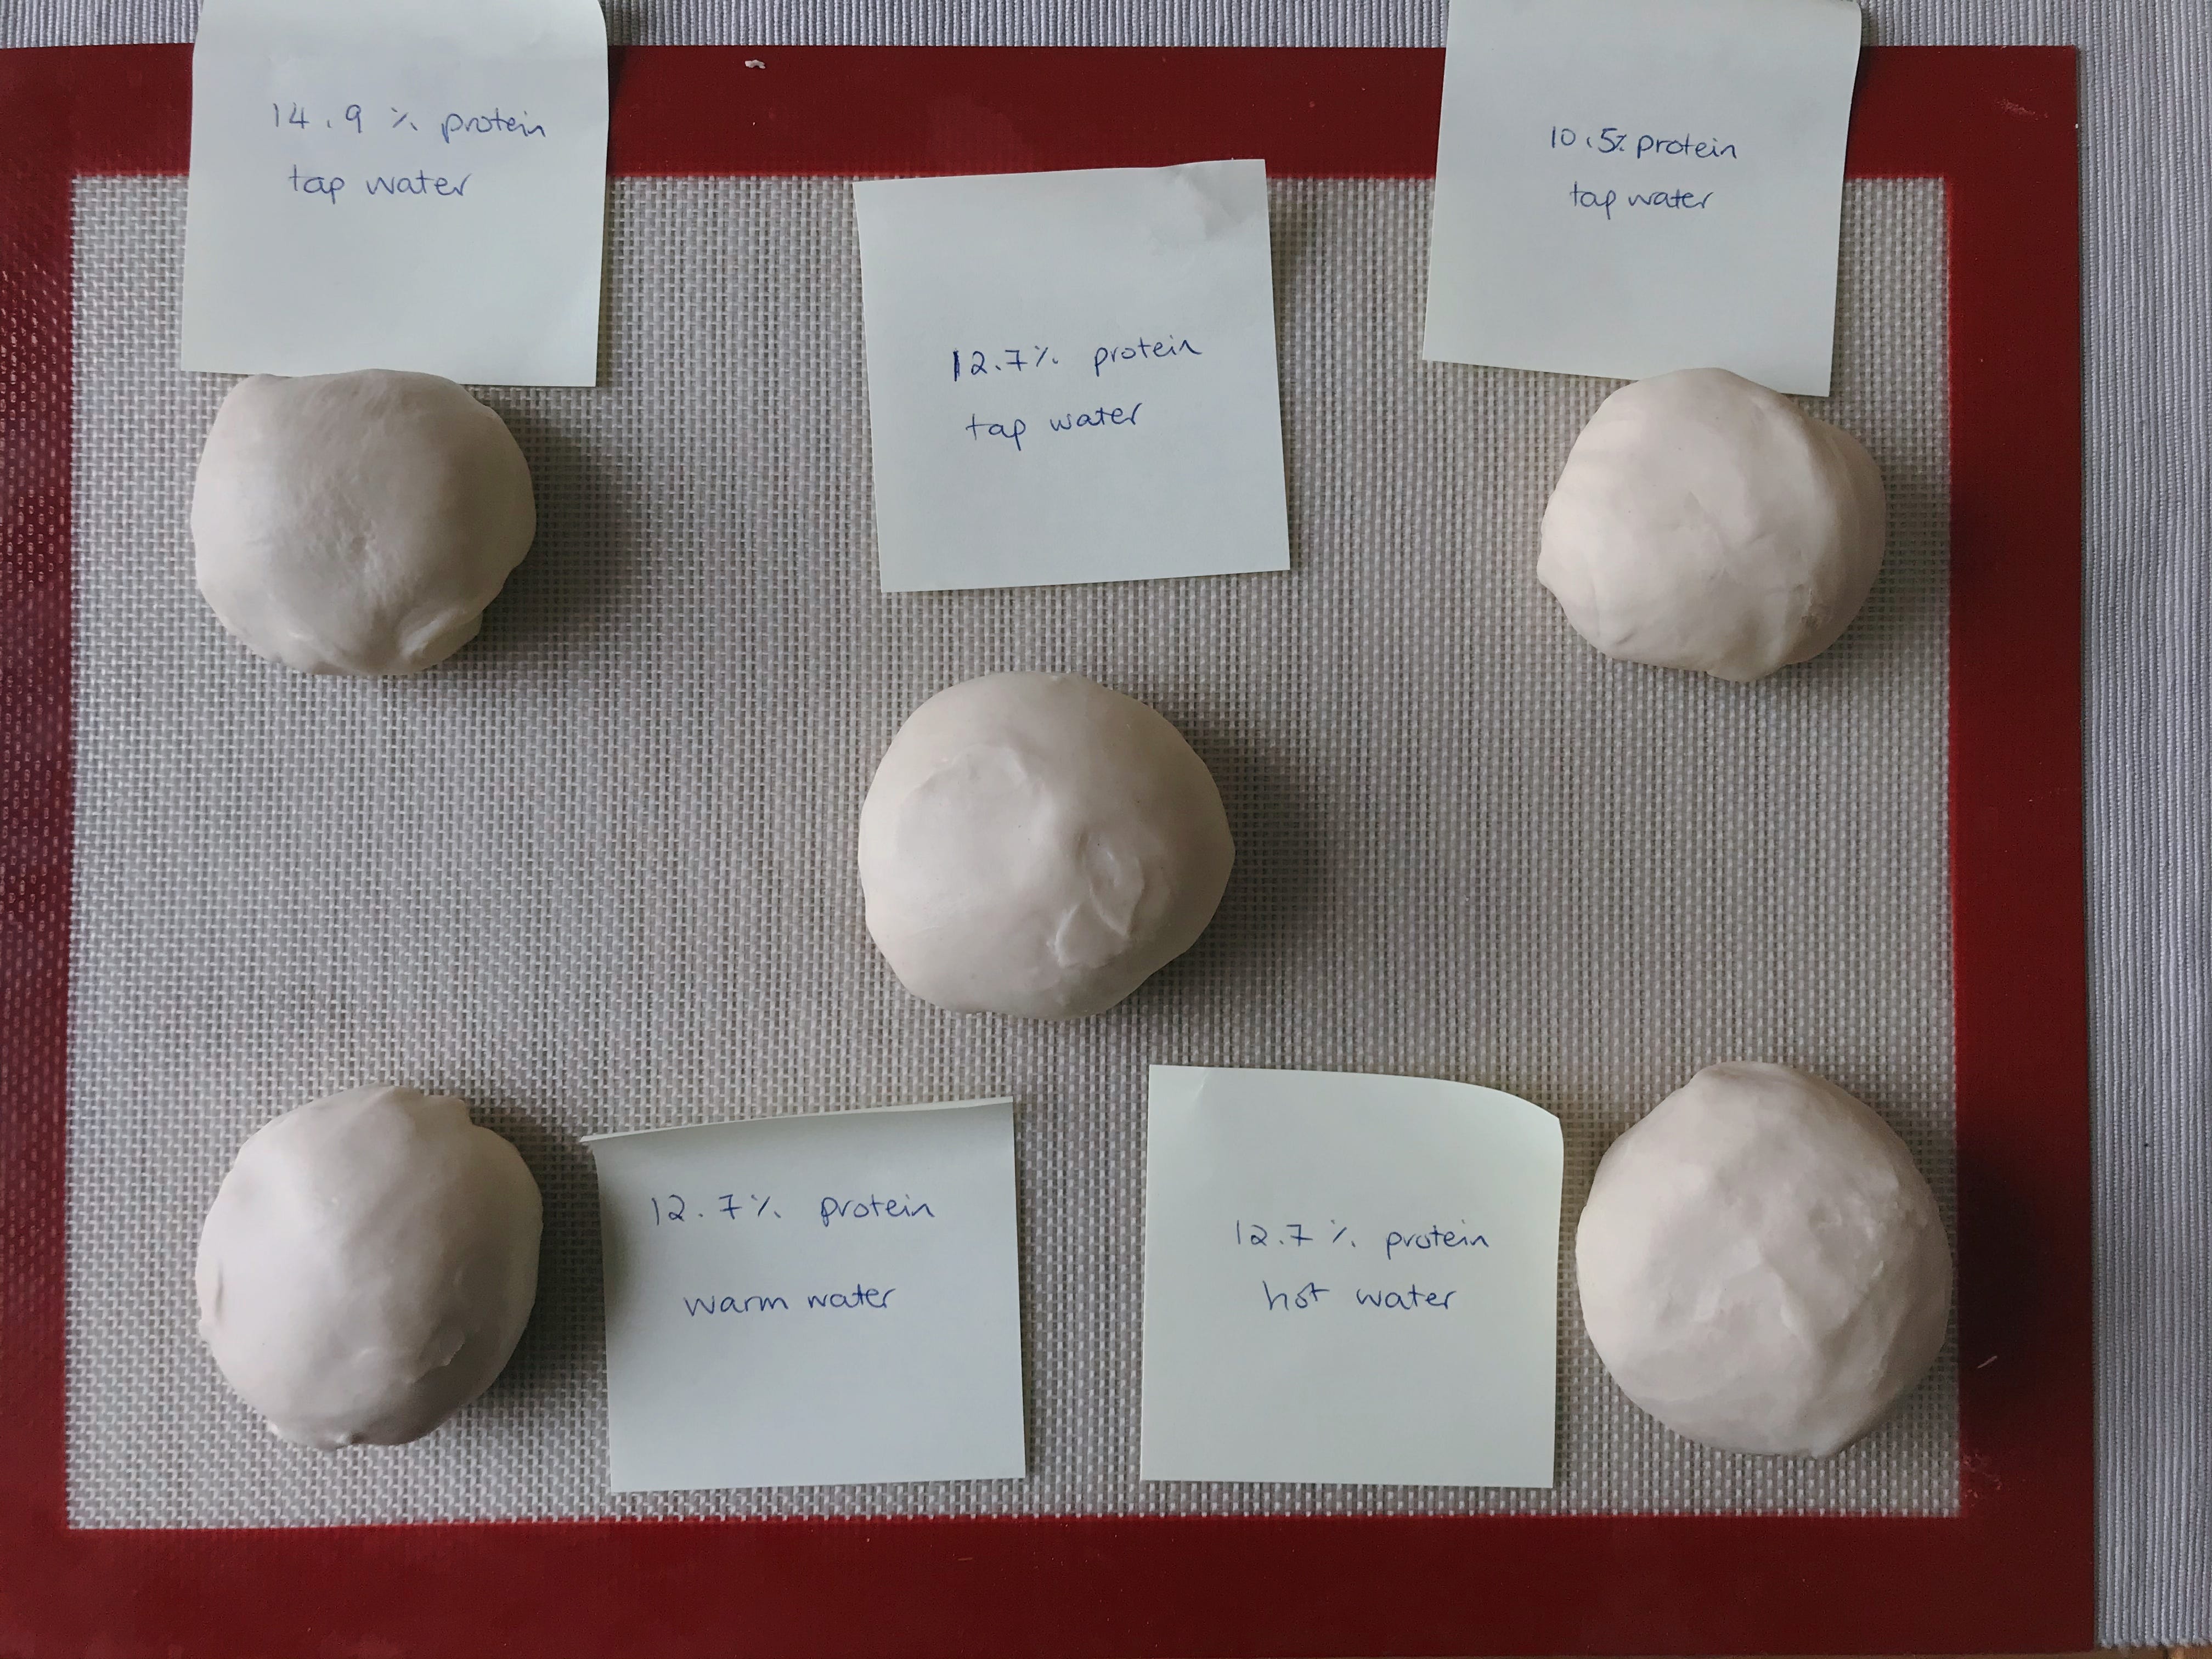
Process:
Weighed out 50g flour, then added water until dough forms and all flour is picked up. Rest the dough.
I aim for similar consistensy in how hard/dry the dough feels, sometimes the dough post-resting feels extra wet, so I add more flour, which is why the numbers are not all 50.
Here is what I found, with complete summary tables further down:
Protein content in this case made much less difference compared to water temperature, all three protein % I tried yielded reasonable doughs, but I felt the medium % dough gives a good balance.
The lower the protein content, the (marginally) easier it was to knead/roll out the wrappers.
Higher water temperature yields a more tender wrapper that can be rolled out larger, but is more difficult to handle. Some quick science on why: hot water gelatinizes the starch in flour, which inhibits gluten formation and makes the dough semi-elastic.


DOUGH METHOD
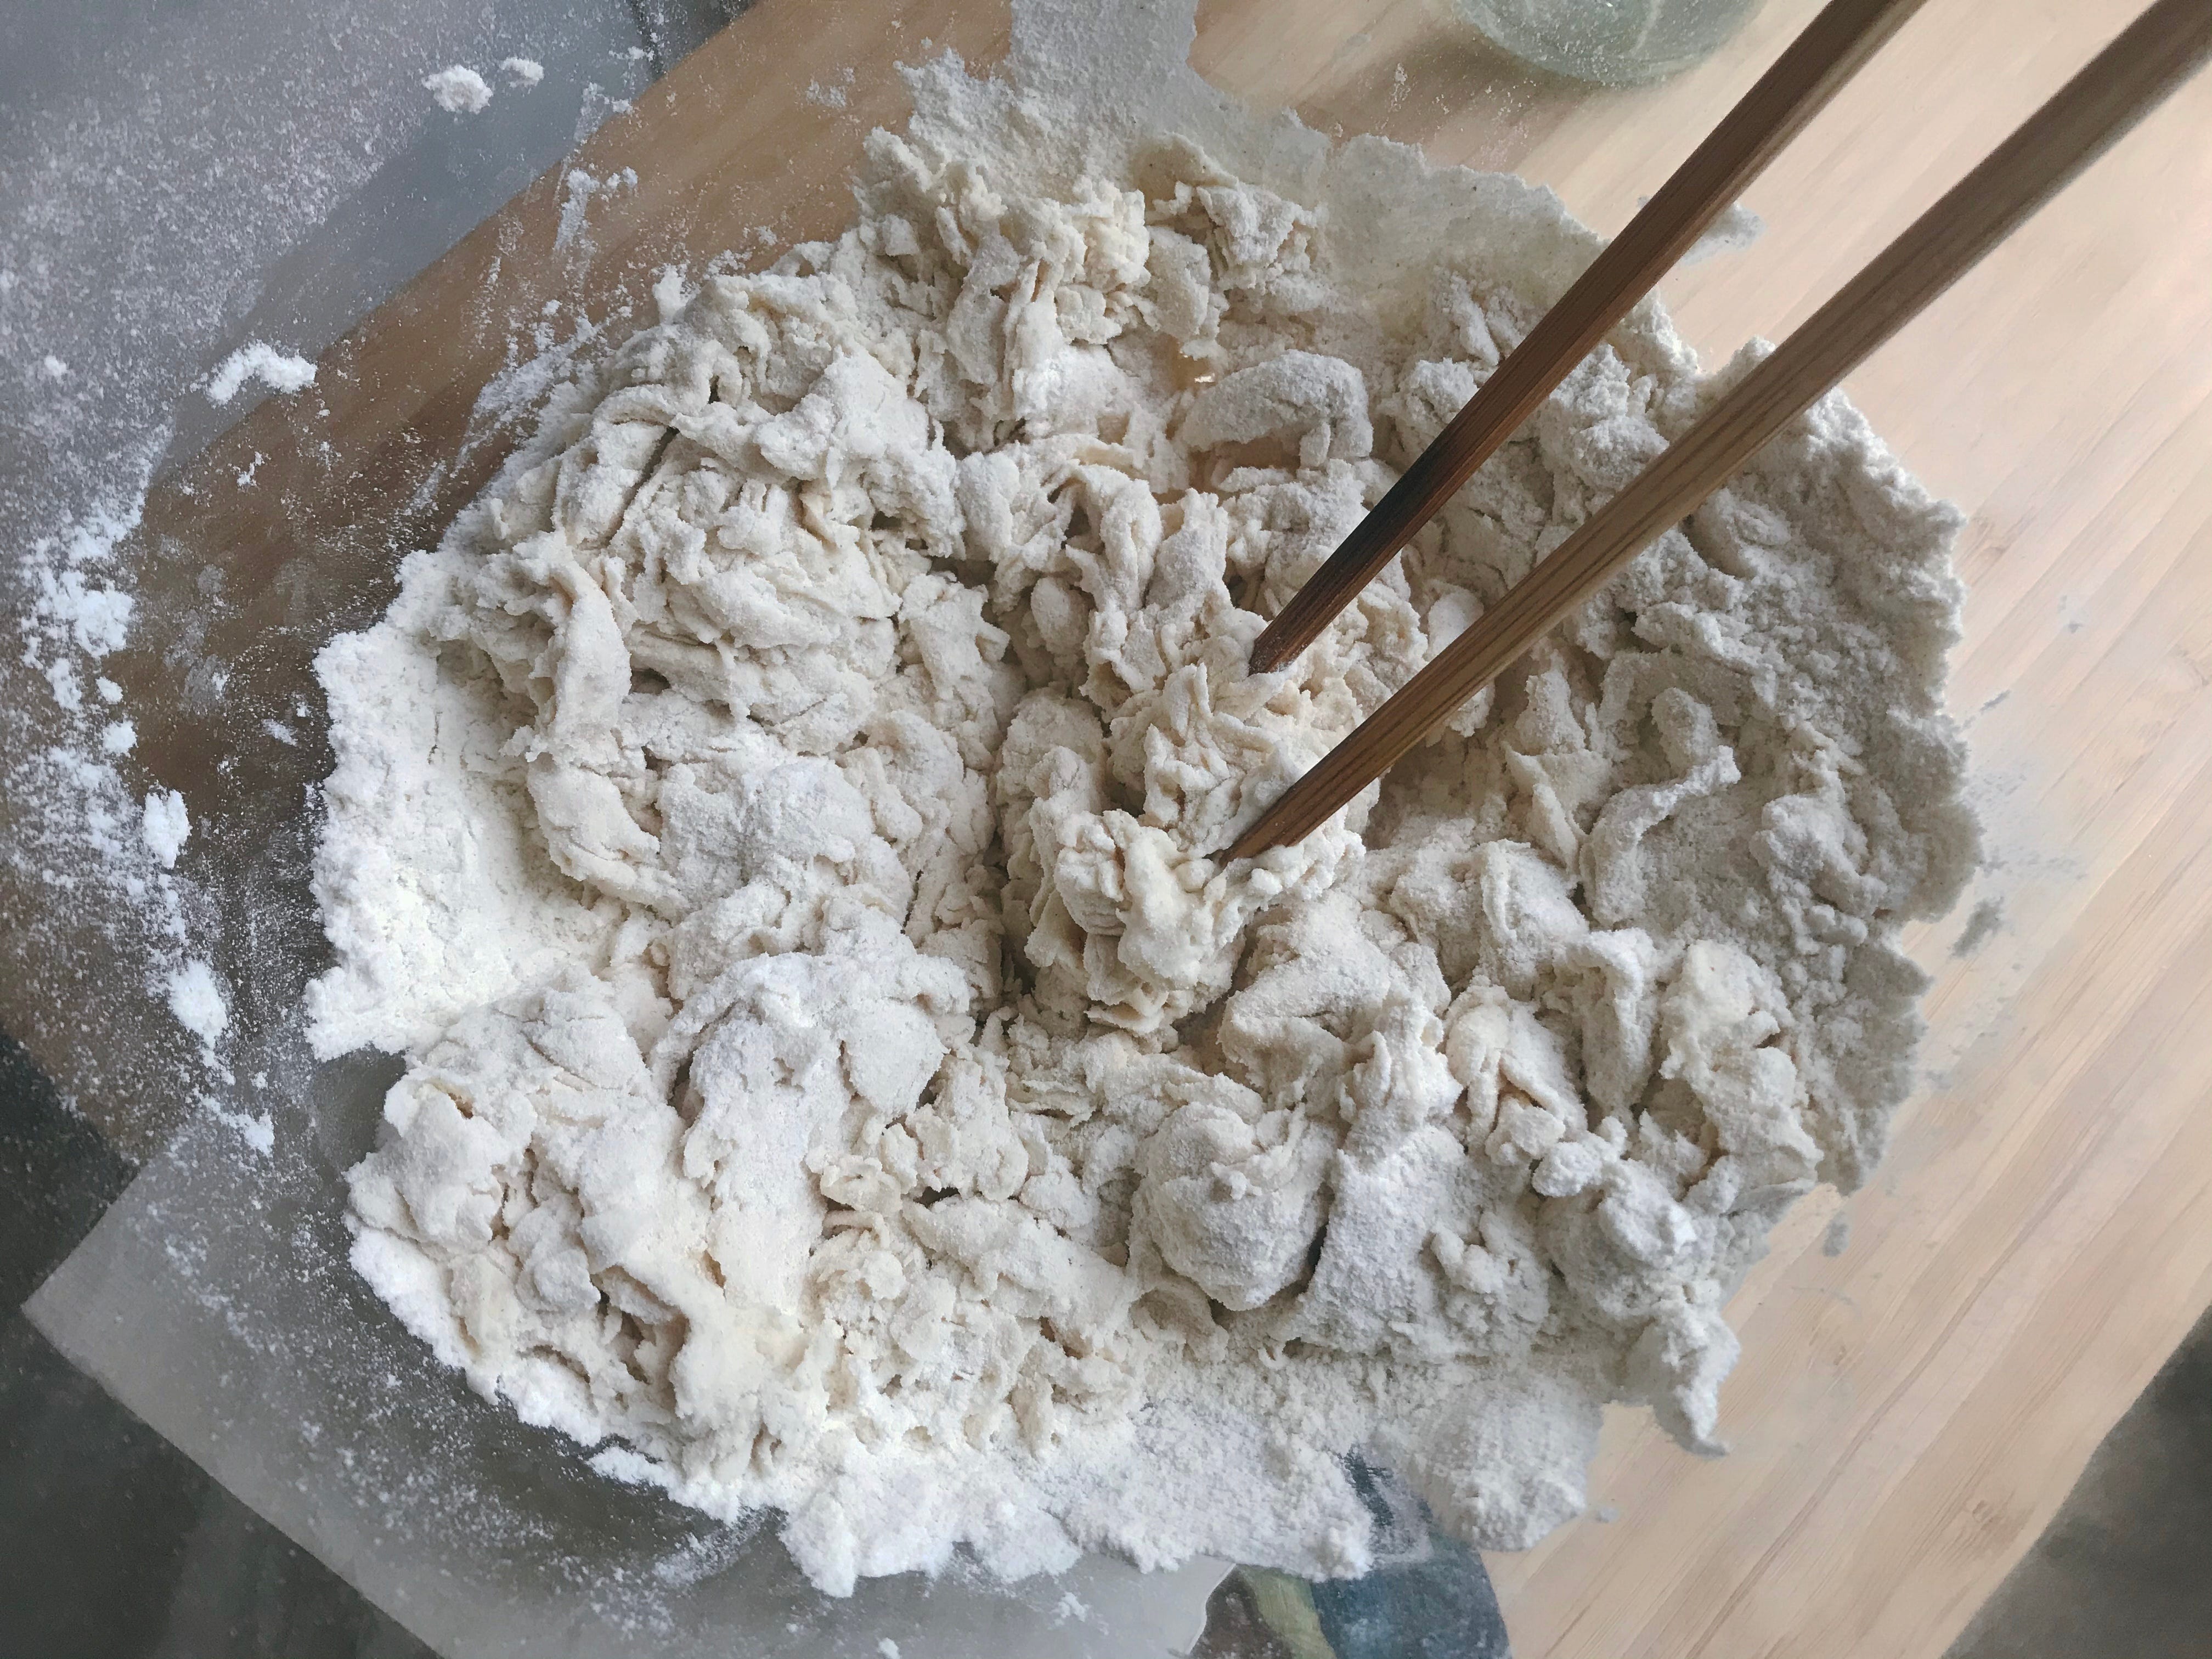
I start with adding 90% of the water, stir and mix, then gradually adding a couple drops each time, until all the flour can be brought together.
Next, you have a choice. You want to develop the gluten in your dough, the way in which you can achieve this primarily depends on how much time you have.

The kneading method is straight forward: you just knead until a smooth dough ball forms.
The ‘no-knead’ method uses the concept of ‘autolyse’ in bread-making: after you mix together water and flour, you let it rest so that the water can fully hydrate the flour. In bread dough, autolyse has 2 functions, but here, we just want to allow the proteases (digestive enzymes) in the flour to break down the protein molecules and makes a softer dough easier for kneading.
After 1-2 hours, you can knead the dough for 2-3 minutes, and it will be good to go.
(For additional chewiness, you can repeat the rest-and-knead process a couple more times, with 30 minute intervals.)
Basics on Making Wrappers
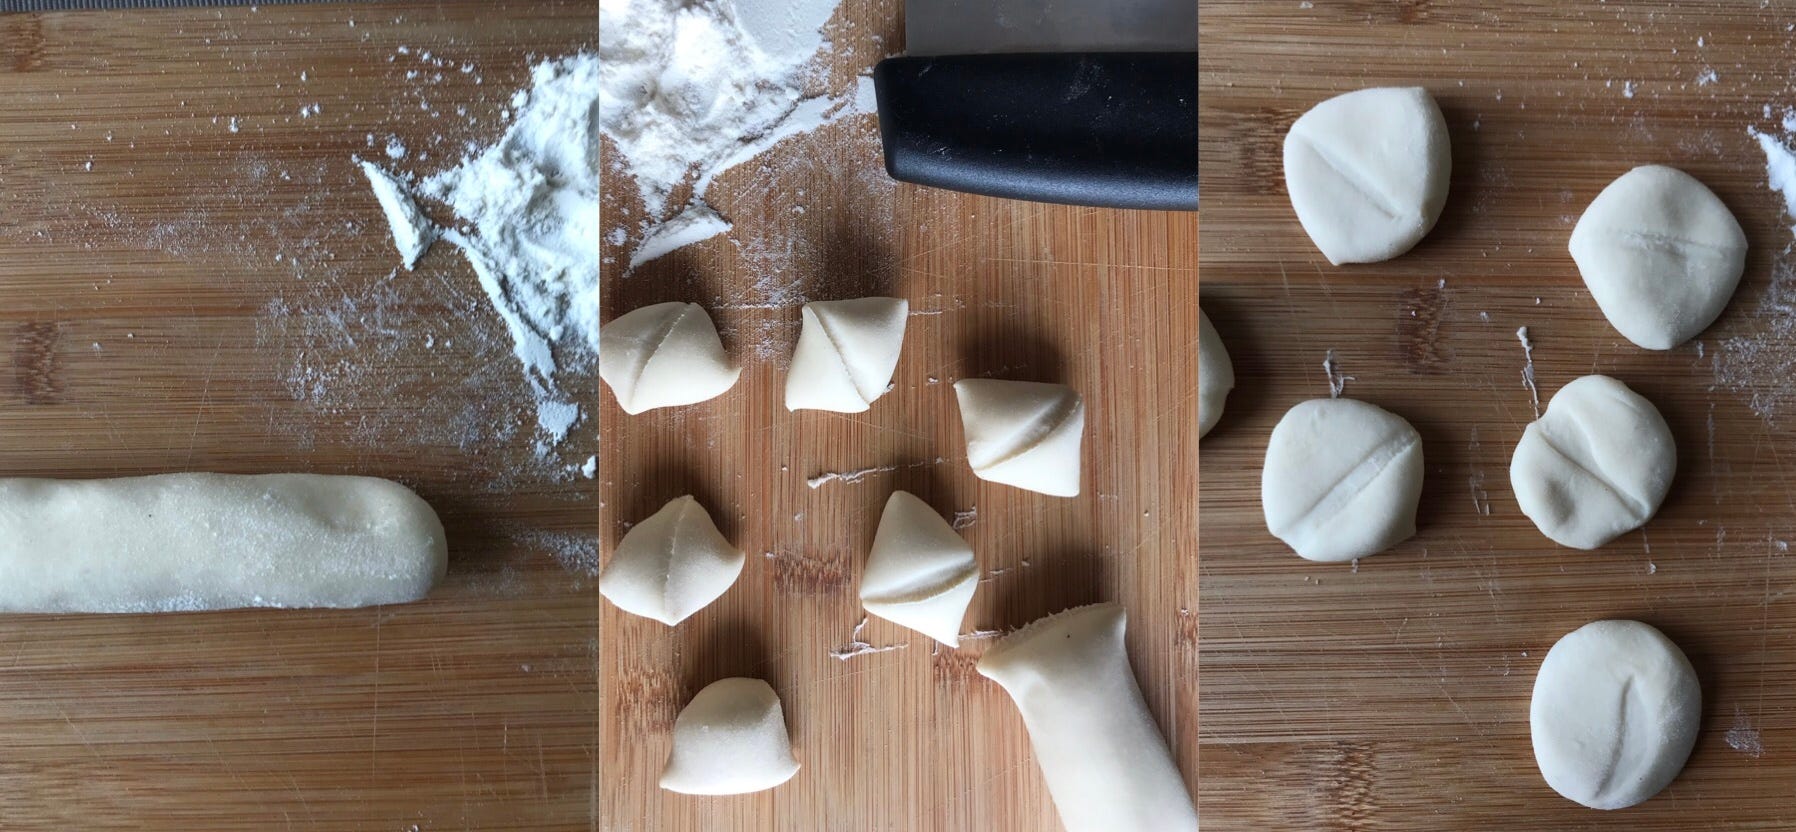
There are 4 stages for making the wrappers:
Rolling the dough into ropes
Dividing the dough into sections
Flattening each small section
Rolling out the wrappers
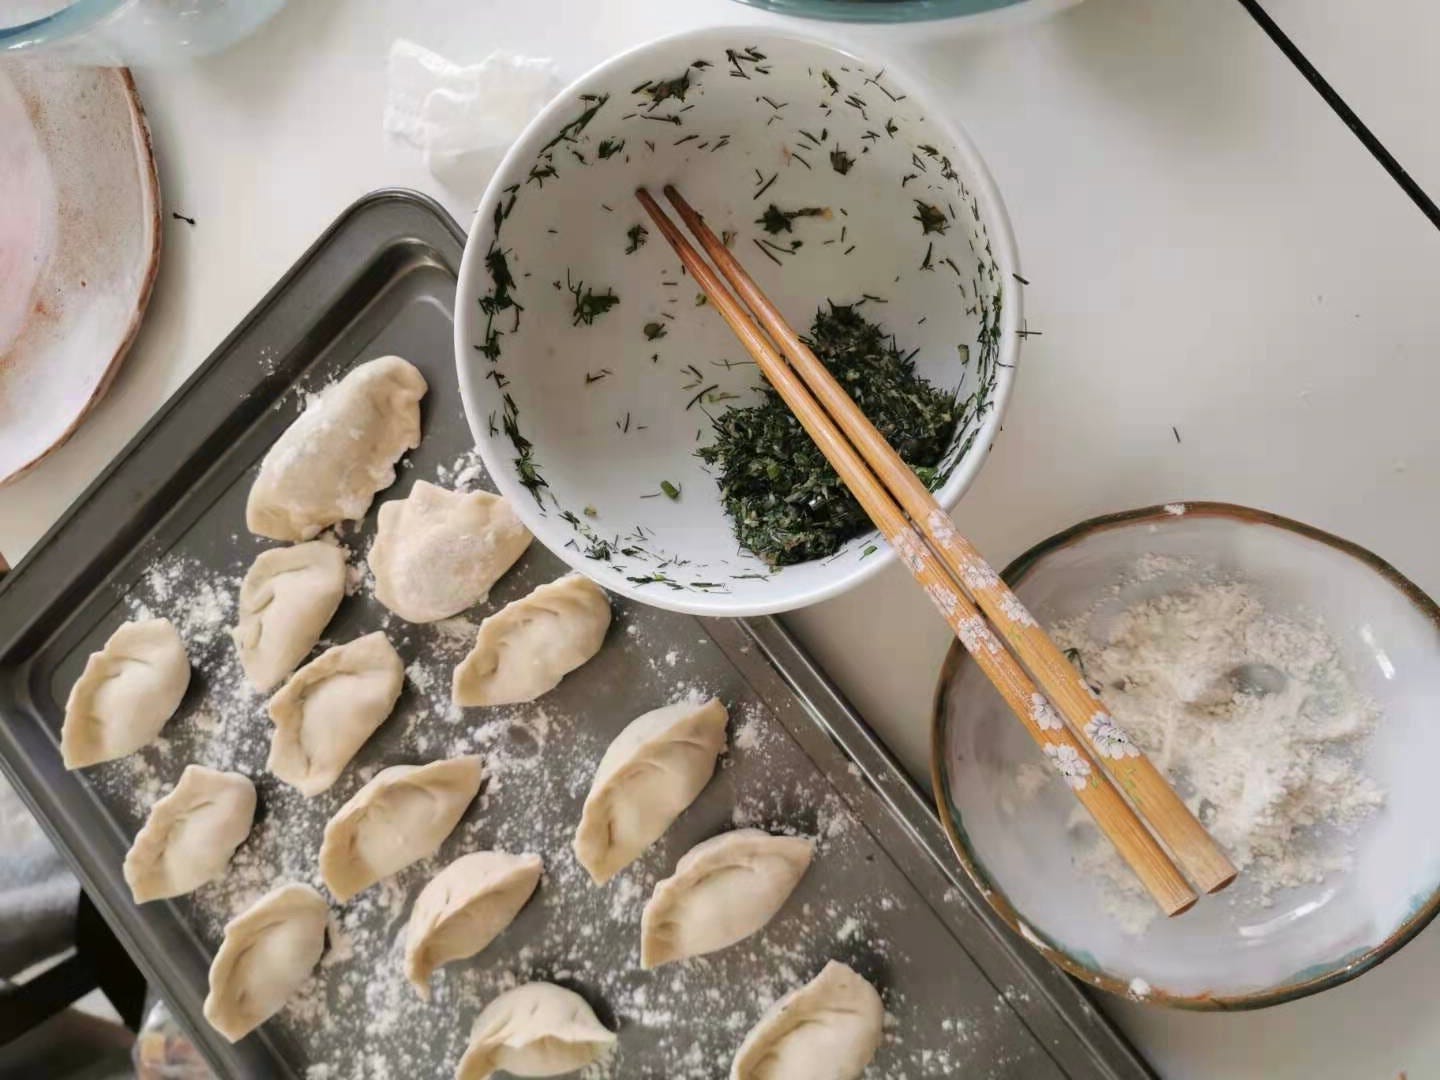
For a beginner, the key here is to make wrappers in small sets of 6-10, fill them, set aside, or the wrappers will dry out. If you prefer to make the wrappers in a batch, dust in corn or potato starch, stack them together, and cover.
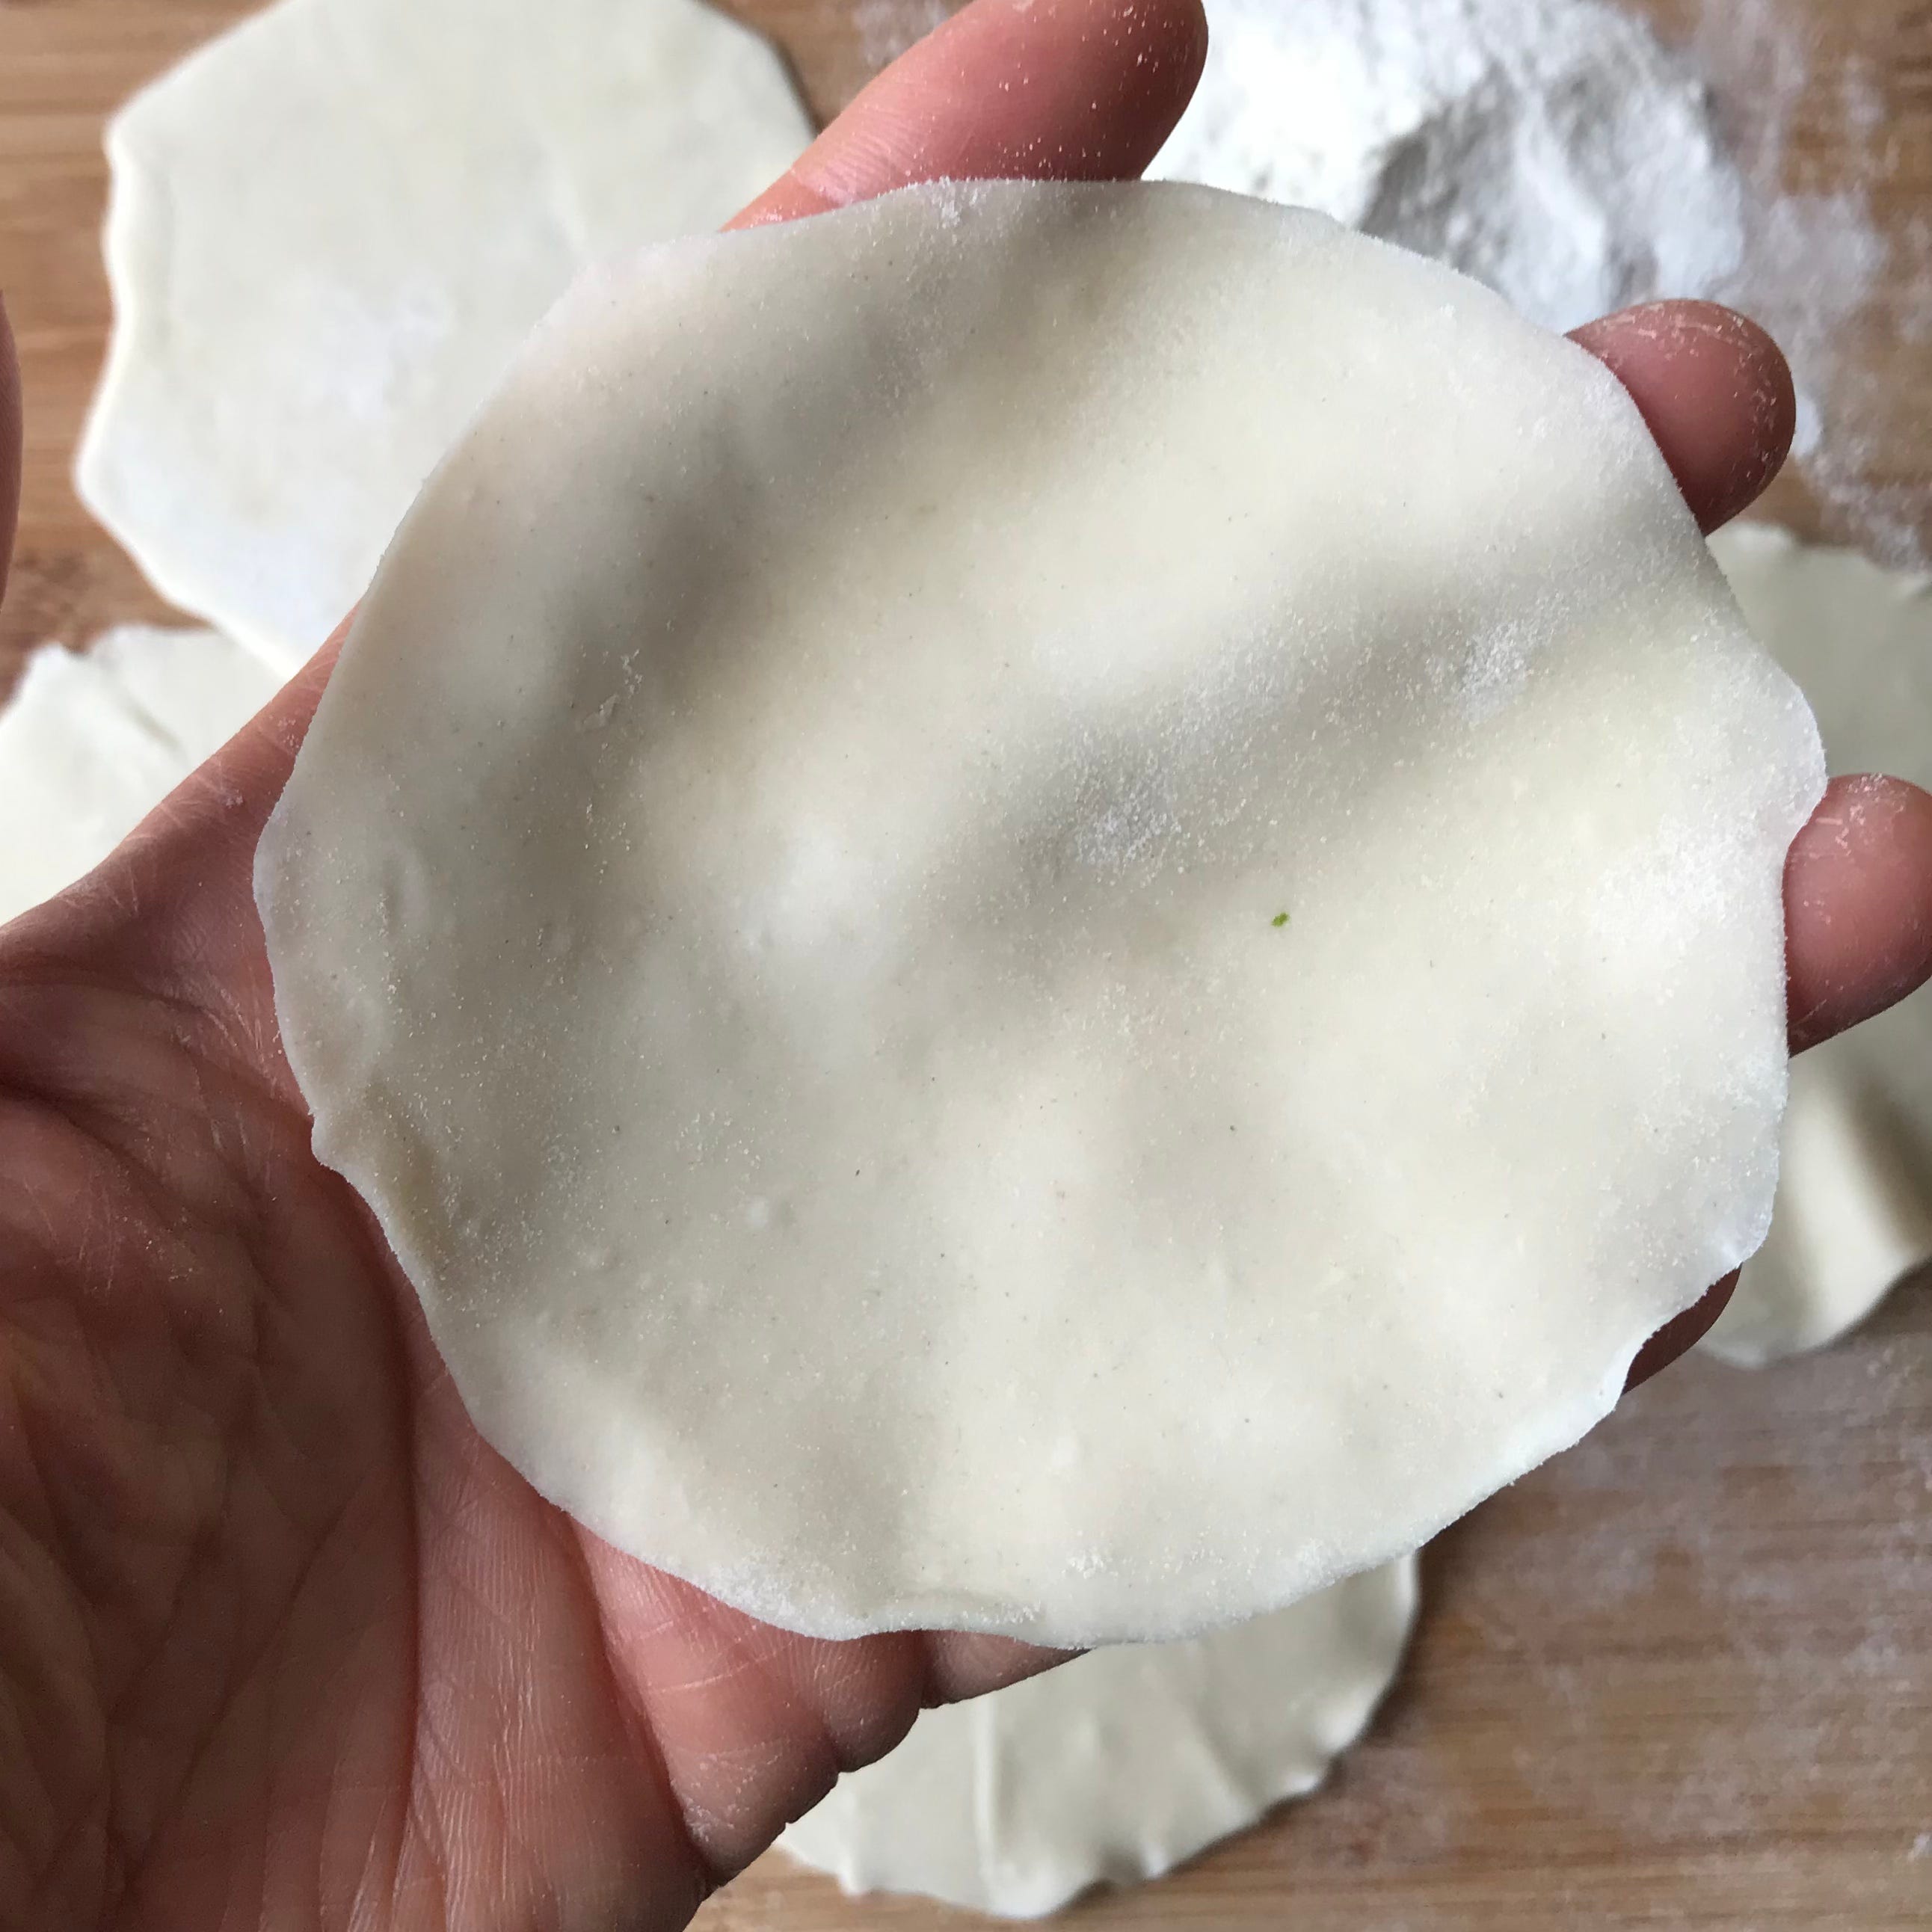
SIZING
I recommend 10g wrapper per dumpling, rolled to 3.5 - 4 inches (9 - 10 cm) in diameter.
ROLLING TECHNIQUE
The wrapper needs to be thin around the edges but thick in the centre, to ensure the whole, including edges, have the same thickness once you complete assembly.
The method to achieve this is called roll and turn, where one hand rolls and drags downwards towards your body from the centre of the dough, while the other hand rotates the dough.
The classic roll and turn directly from the mini flattened dough balls is quite challenging to master. A short cut is to roll it to half the diameter size first, and then finish off the wrapper with 2 - 3 more rounds of roll and turn to ensure the edges are thinner.
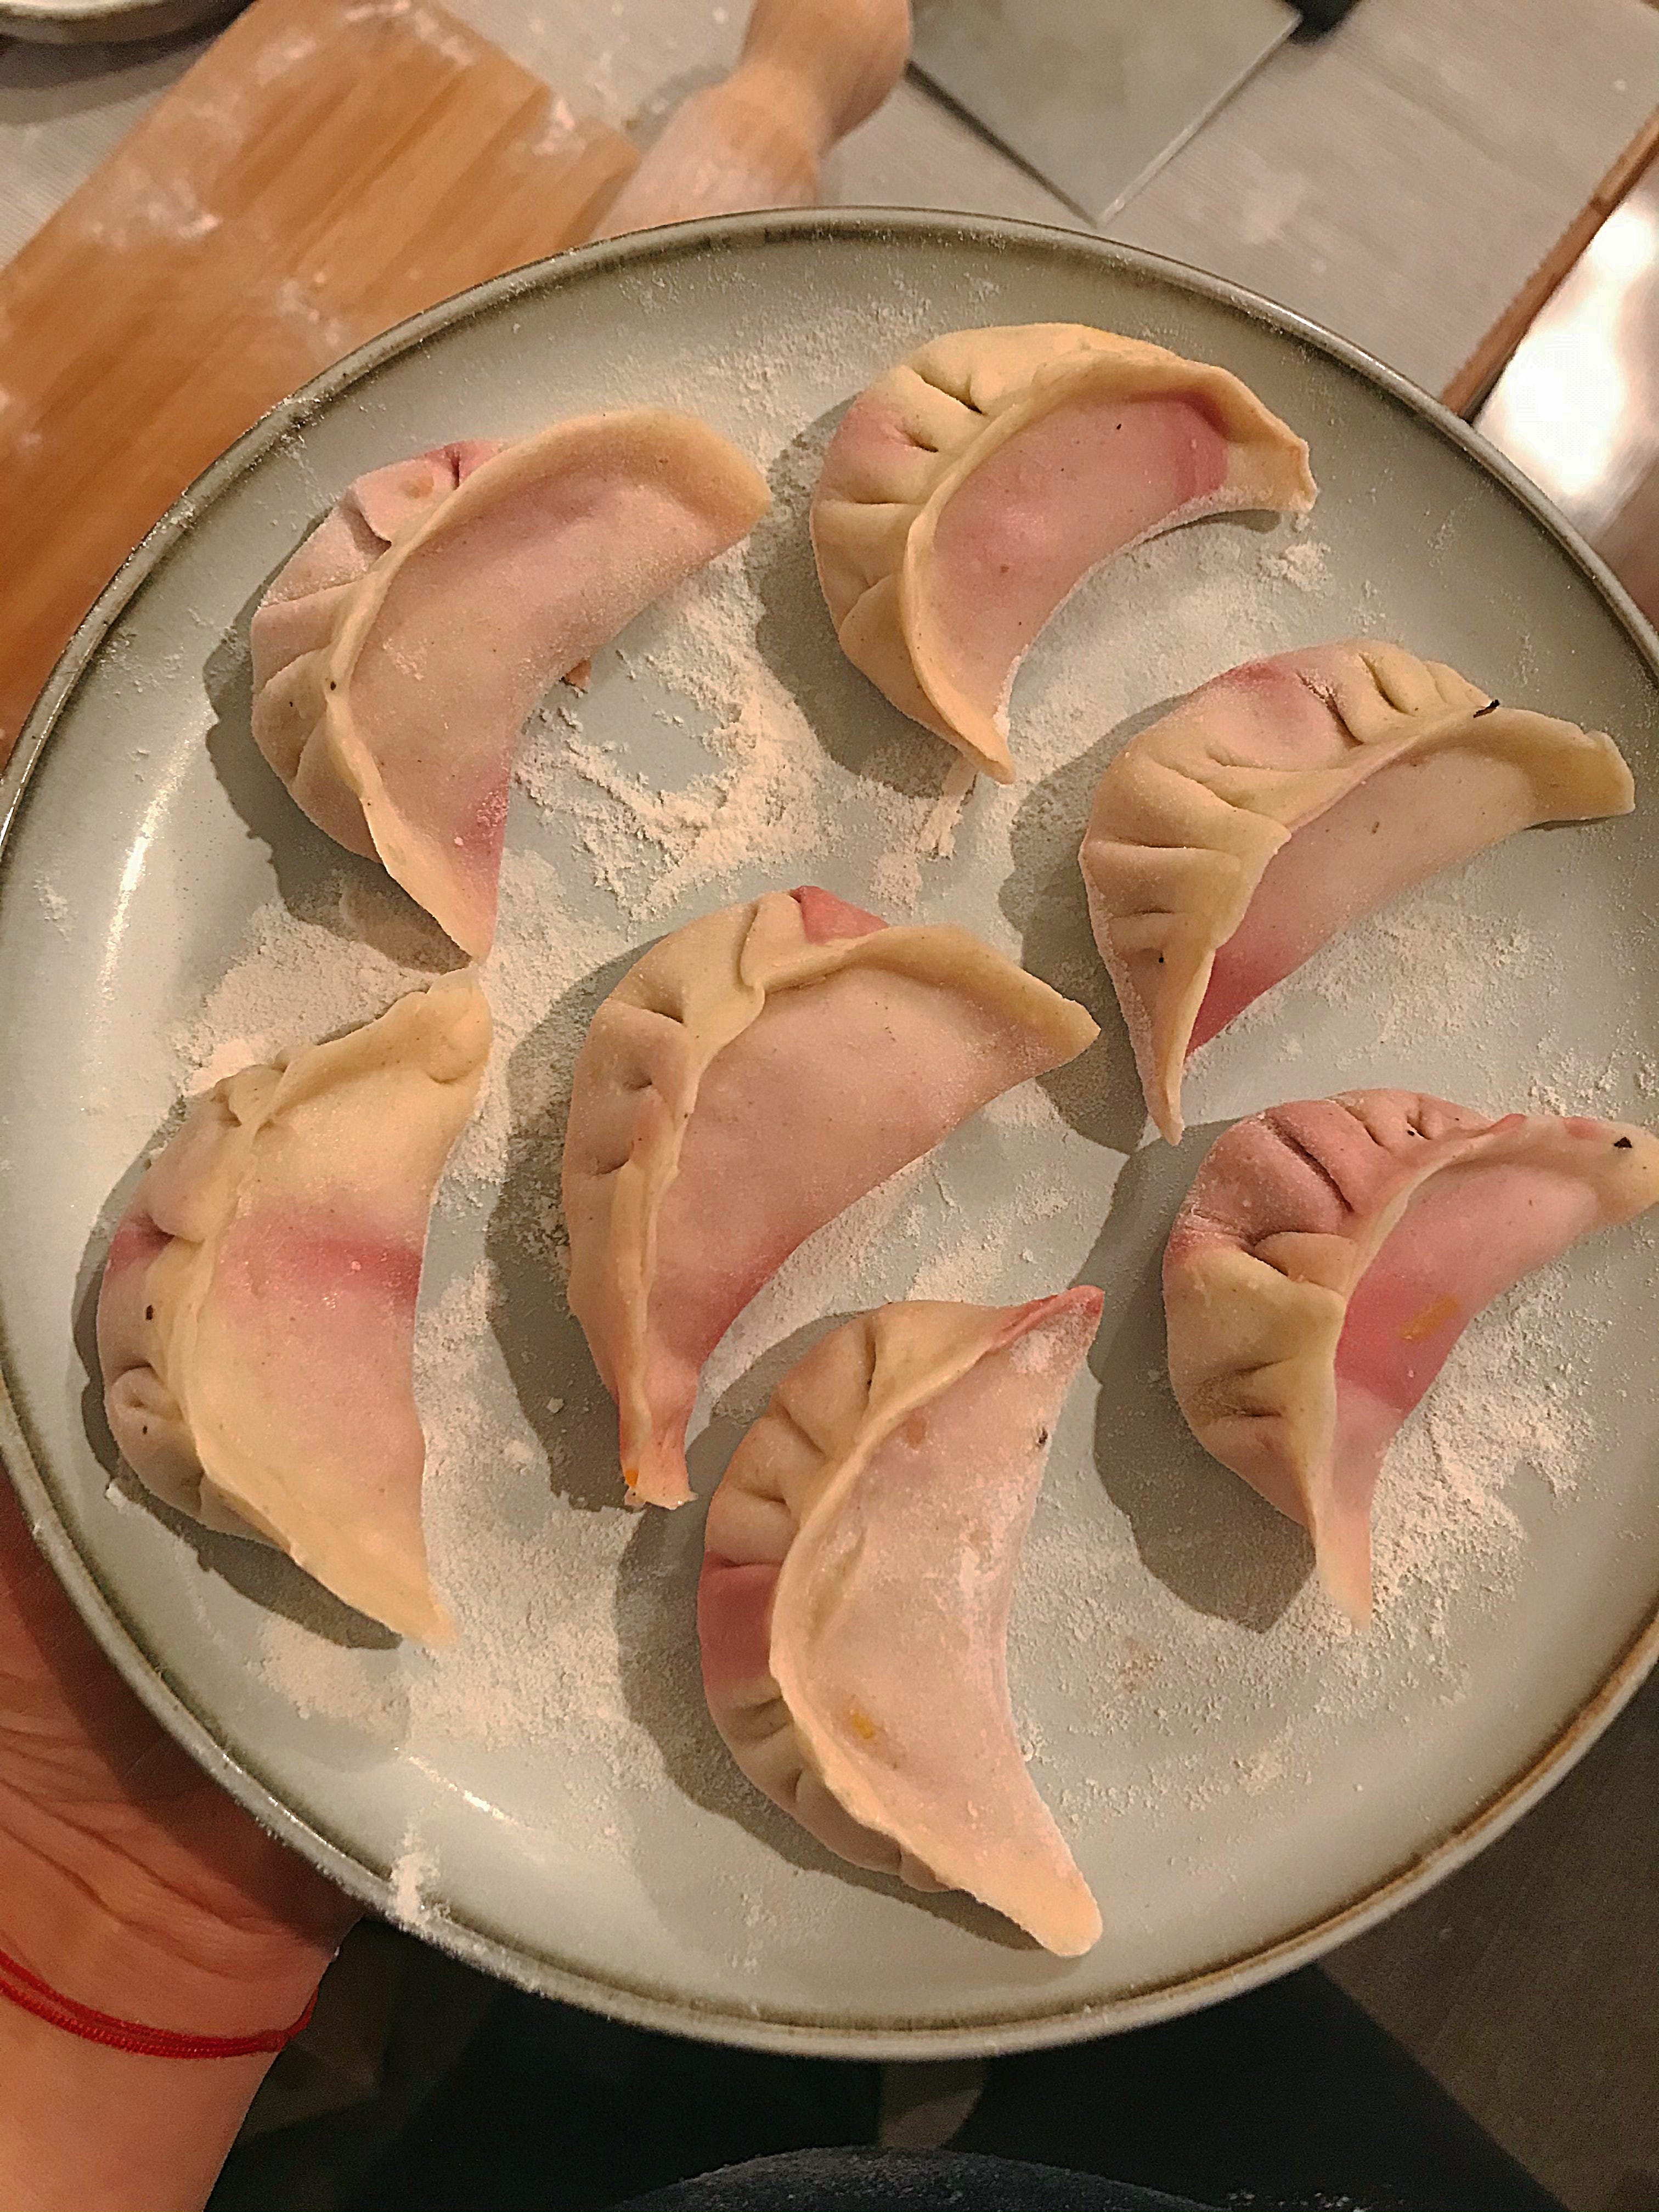
Making Colourful Wrappers
The easy answer is to add food-dye, but traditionally, vegetables are used instead. The method is to juice the vegetable, filter and use only the liquid.
The only thing to remember is to reduce the amount of water proportionally, so that the dough is not too wet.

As always, thank you for subscribing and reading. Next week, we will go through the remainder of the process, namely:
The Filling (the basics, proteins, vegetables, veggie/vegan tips)
Assembly
Cooking: boiling, steaming, pan-fry
Chinese New Year is this Friday, so I wish you all a very happy Year of the Ox :)
Appendix: Jiaozi, Gyoza and Mandu
I asked my friends on the differences between the two, and in essence the ingredients for the dough are the same, with differences in size, fillings, thickness of wrappers, and cooking method.
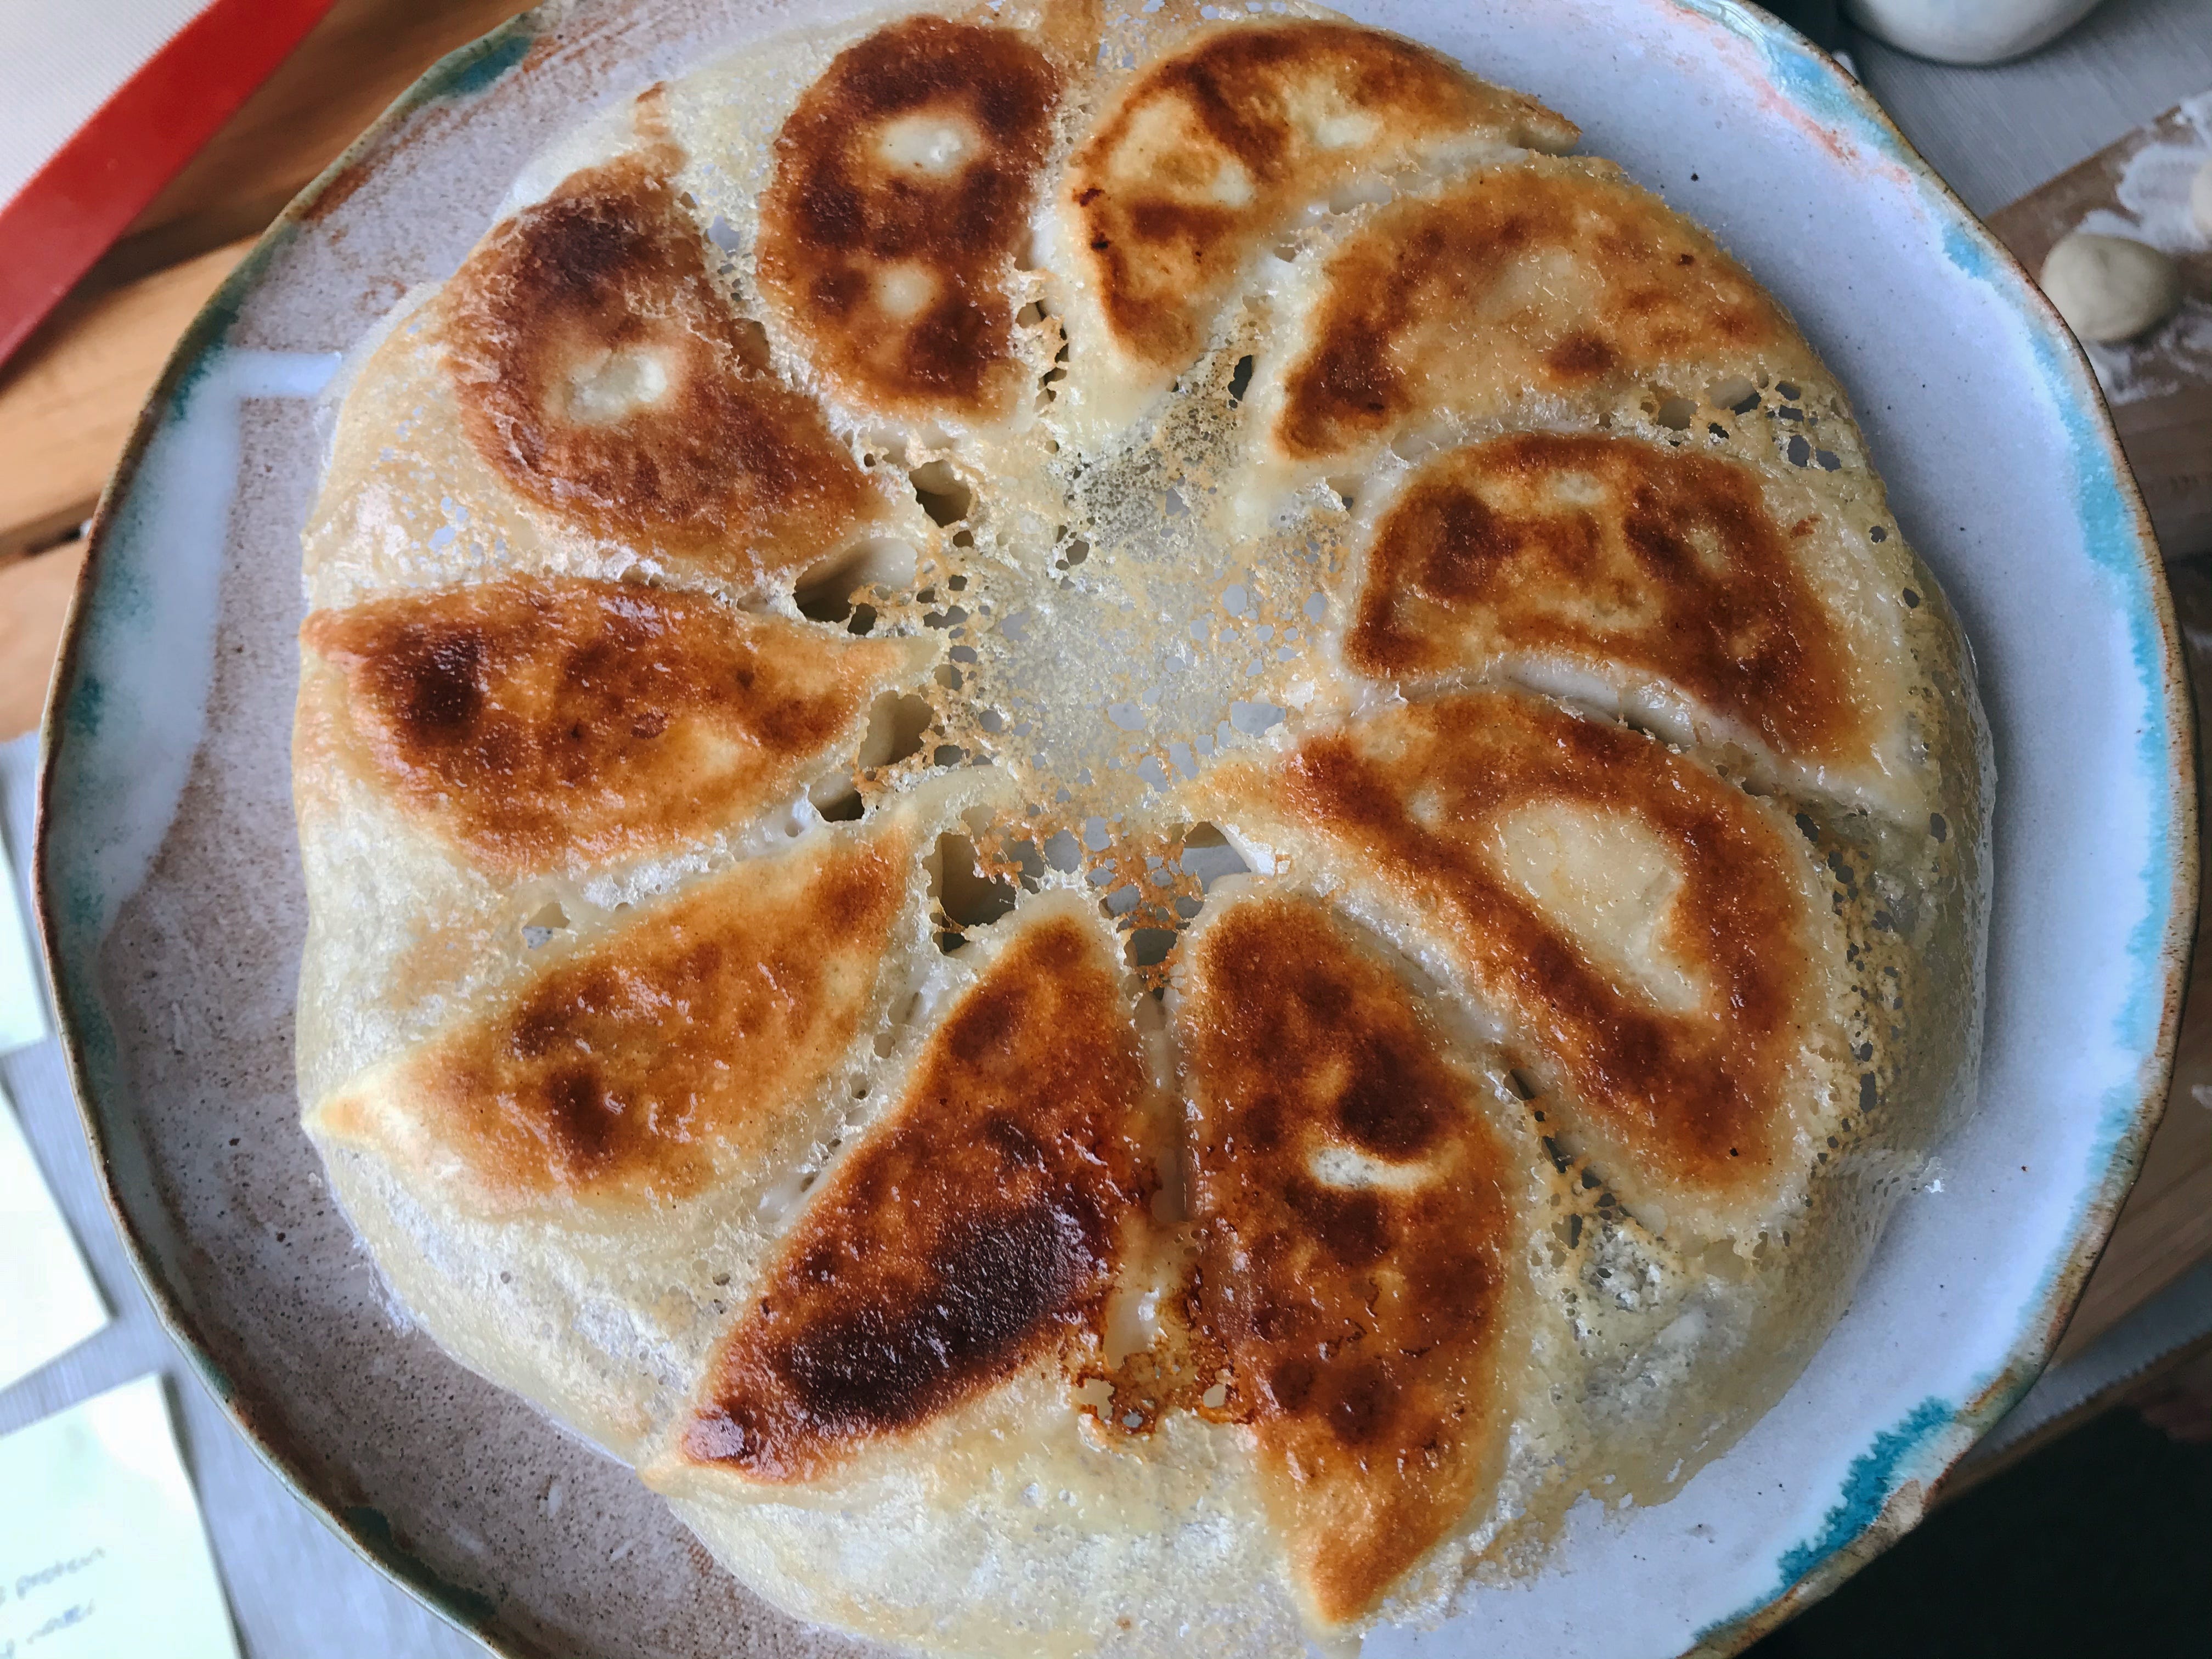
Gyoza, in comparison, often uses a slightly lower protein content for dough, resulting in a more tender and thinner skin. They are also most commonly pan-fried, whereas Jiao Zi at home are most commonly boiled. The fillings are mostly pork or seafood based in gyoza; even though pork is one of the most common proteins used in jiaozi, there is in general more variety in fillings.
Similarly, mandu skins are thinner. They are bigger and filled more generously compared to gyoza and jiaozi. Kimchi mandu is a signature flavour. They can be boiled (Mul Mandu), fried (Gun Mandu), and the common Mandu are just the steamed ones.